


Do you ever see something on Etsy, see the price and think – “Hey! I can do that way cheaper!”
After the internal monologue… it’s typically down a serious rabbit hole from there. It turns into googling images and YouTube tutorials, gathering supplies, a few failed attempts… and equals hours of time, a bit more money than anticipated and eventually a TON of pride in my final product!
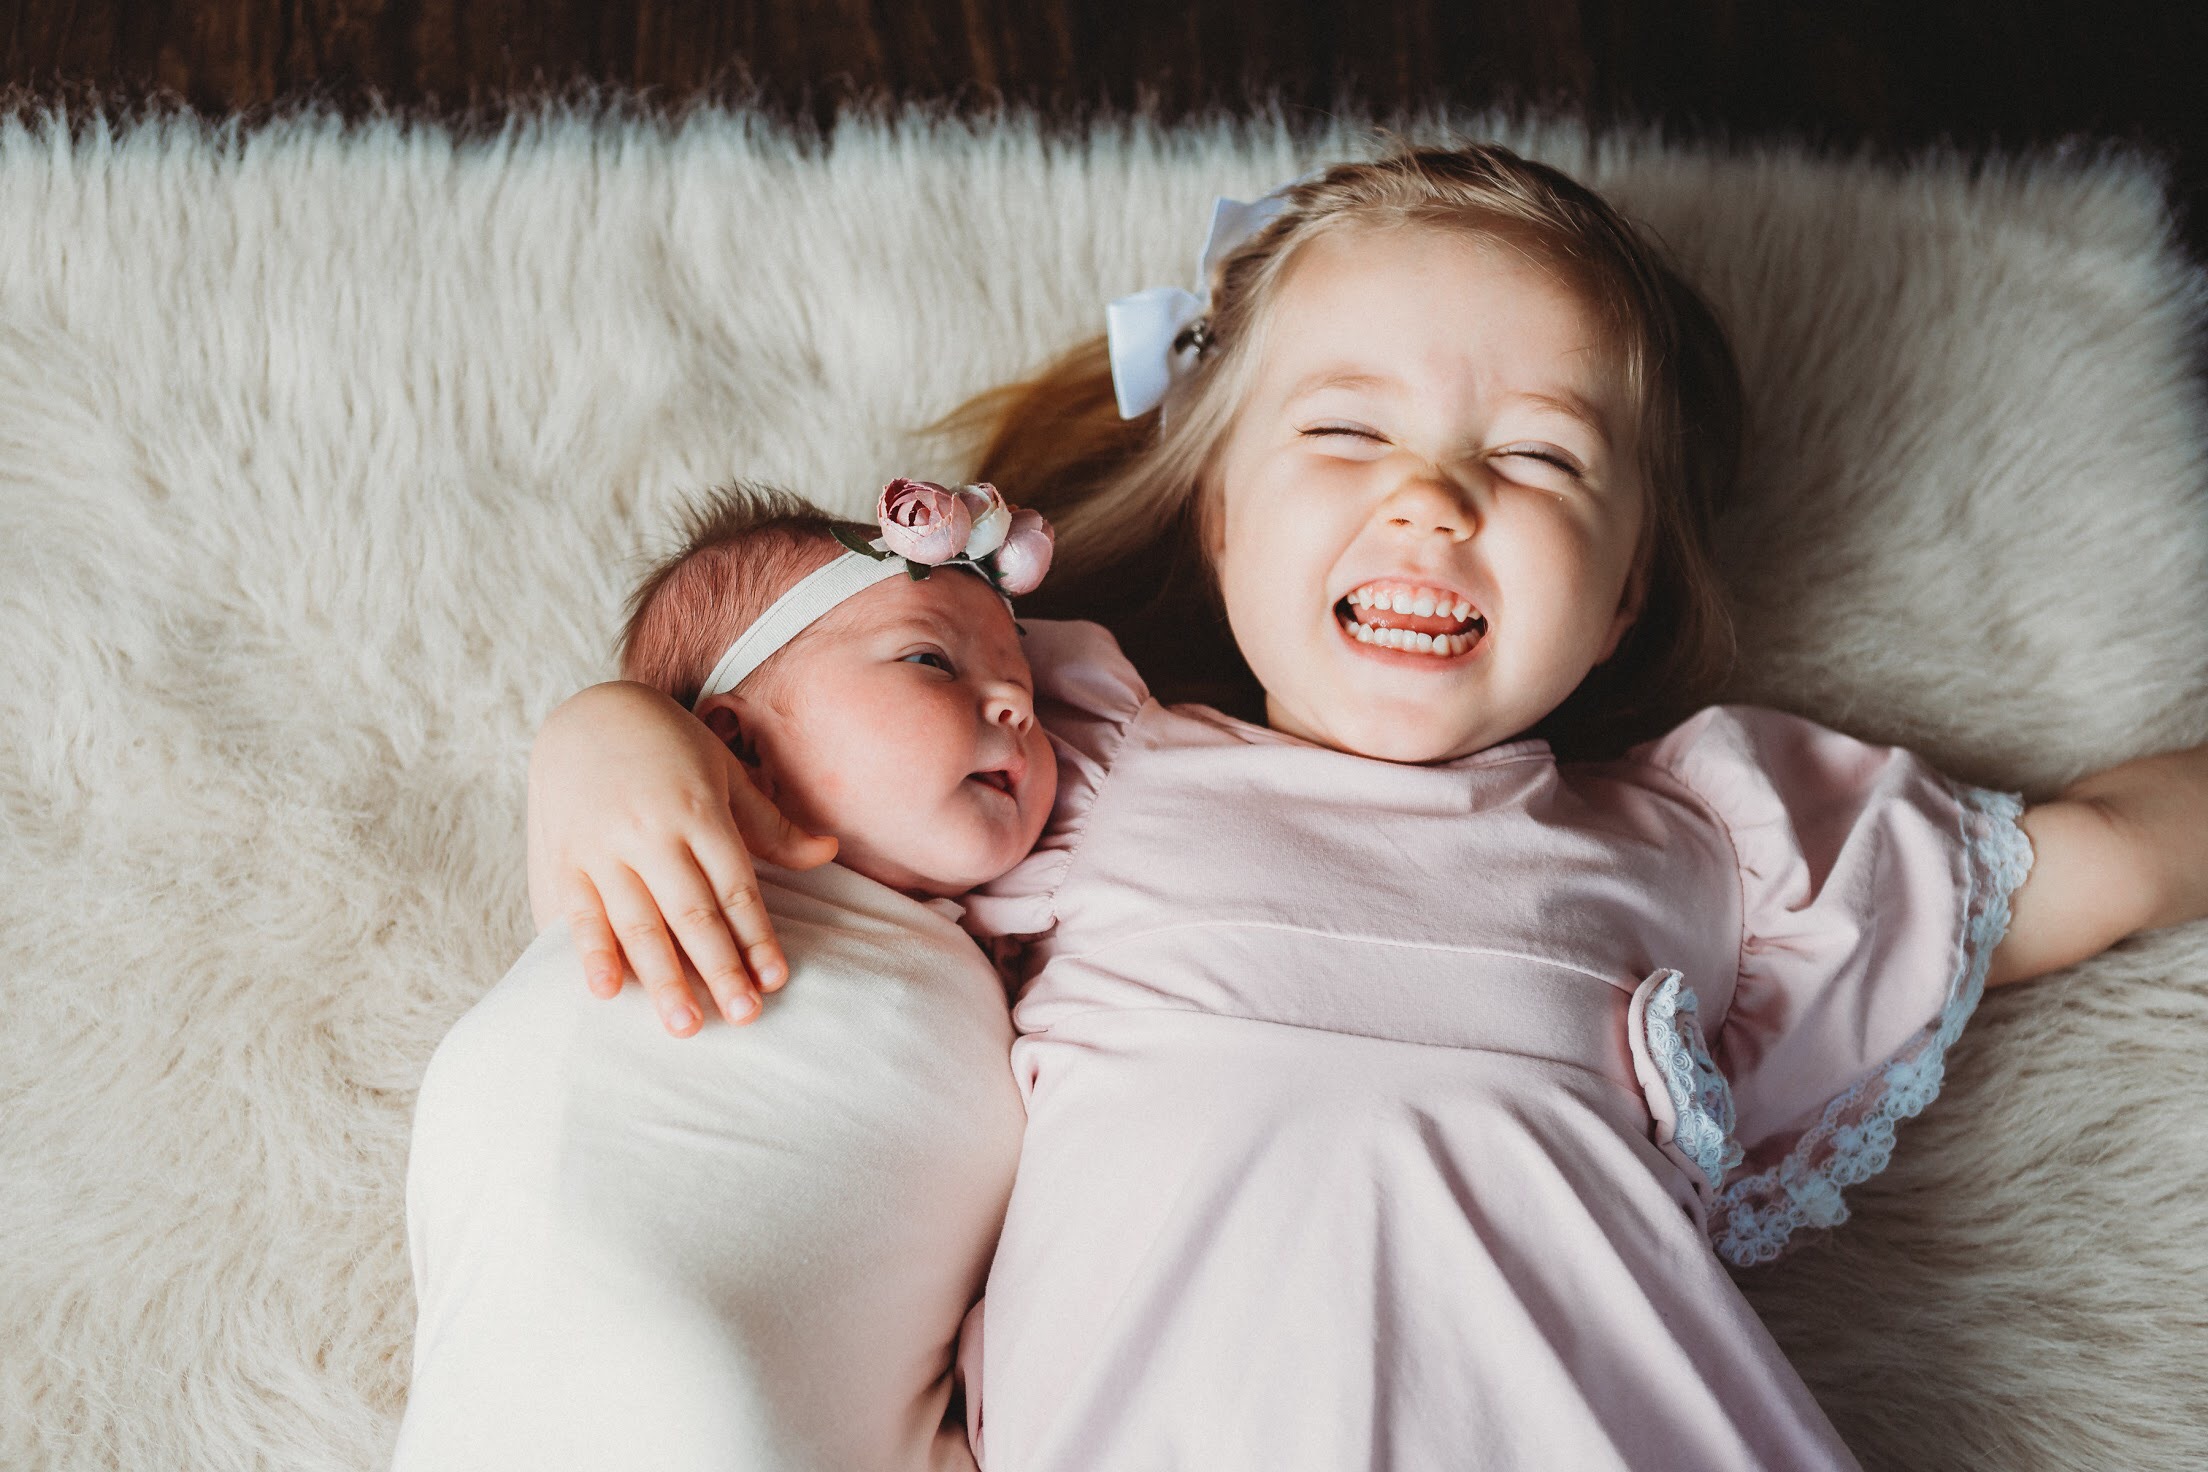
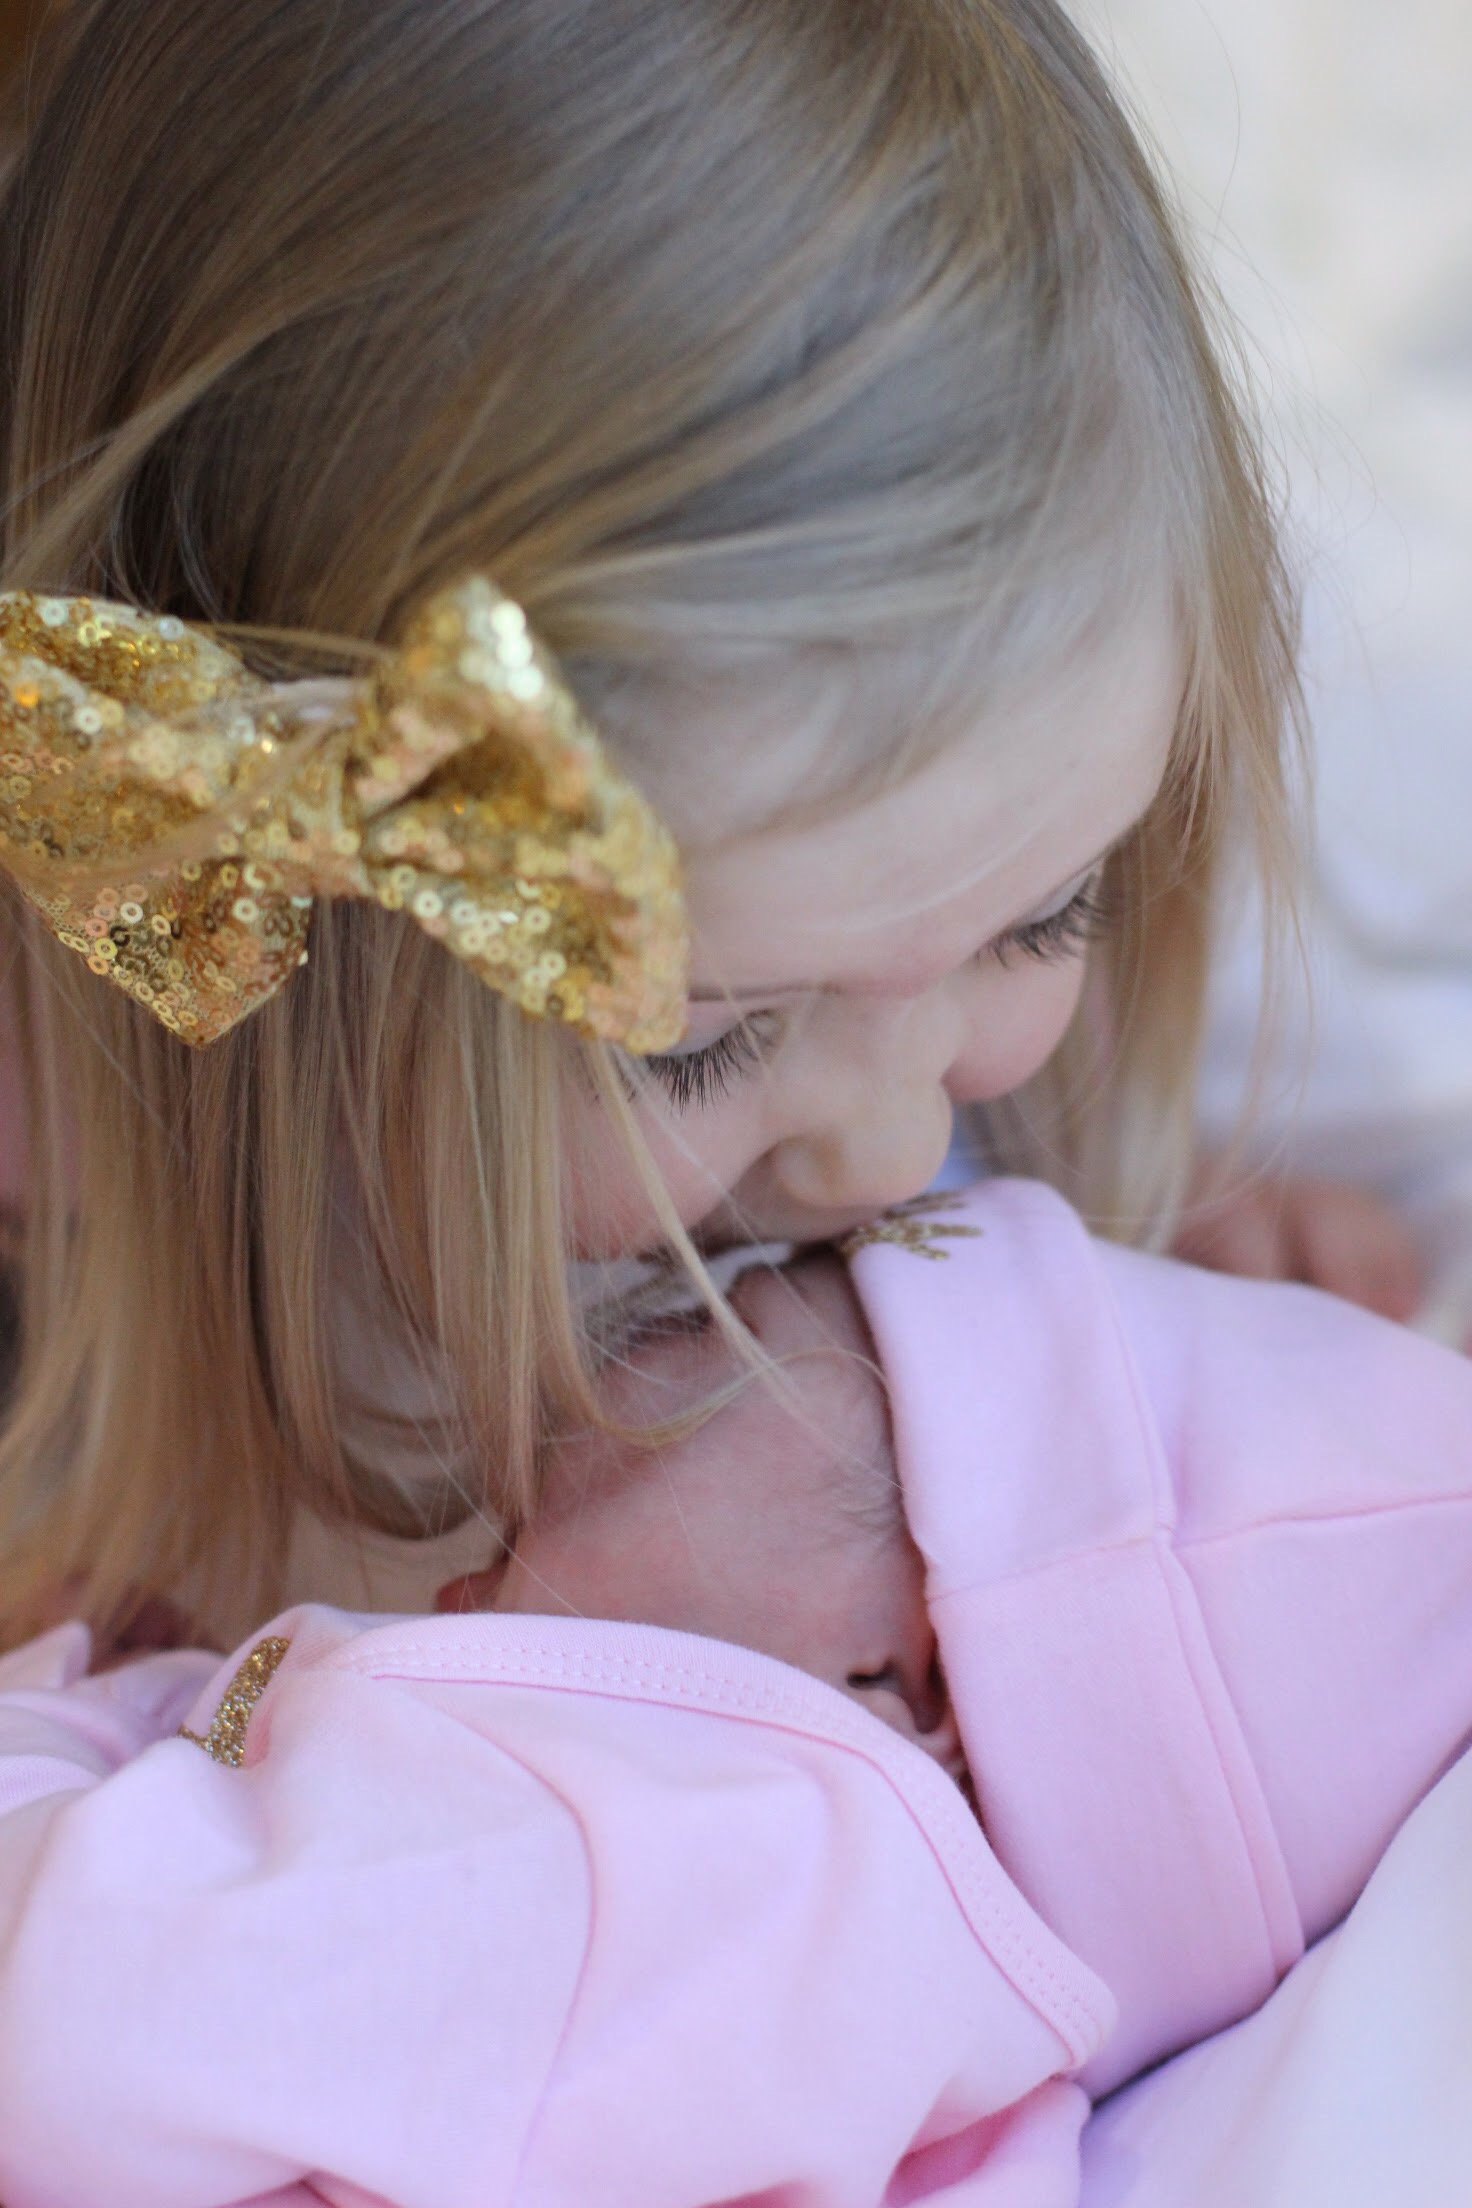
When we found out we were having a second girl we were so excited!
A – we have a girl (River Joss) we know what to do
B – we have all the girl stuff – less money out of our pockets (HA!!!! Equivalent to a “free” puppy)
We were able to upgrade River to a “big girl room” and move a lot of her things into Ramsey’s room, but I wanted a couple of items to be different… one being –
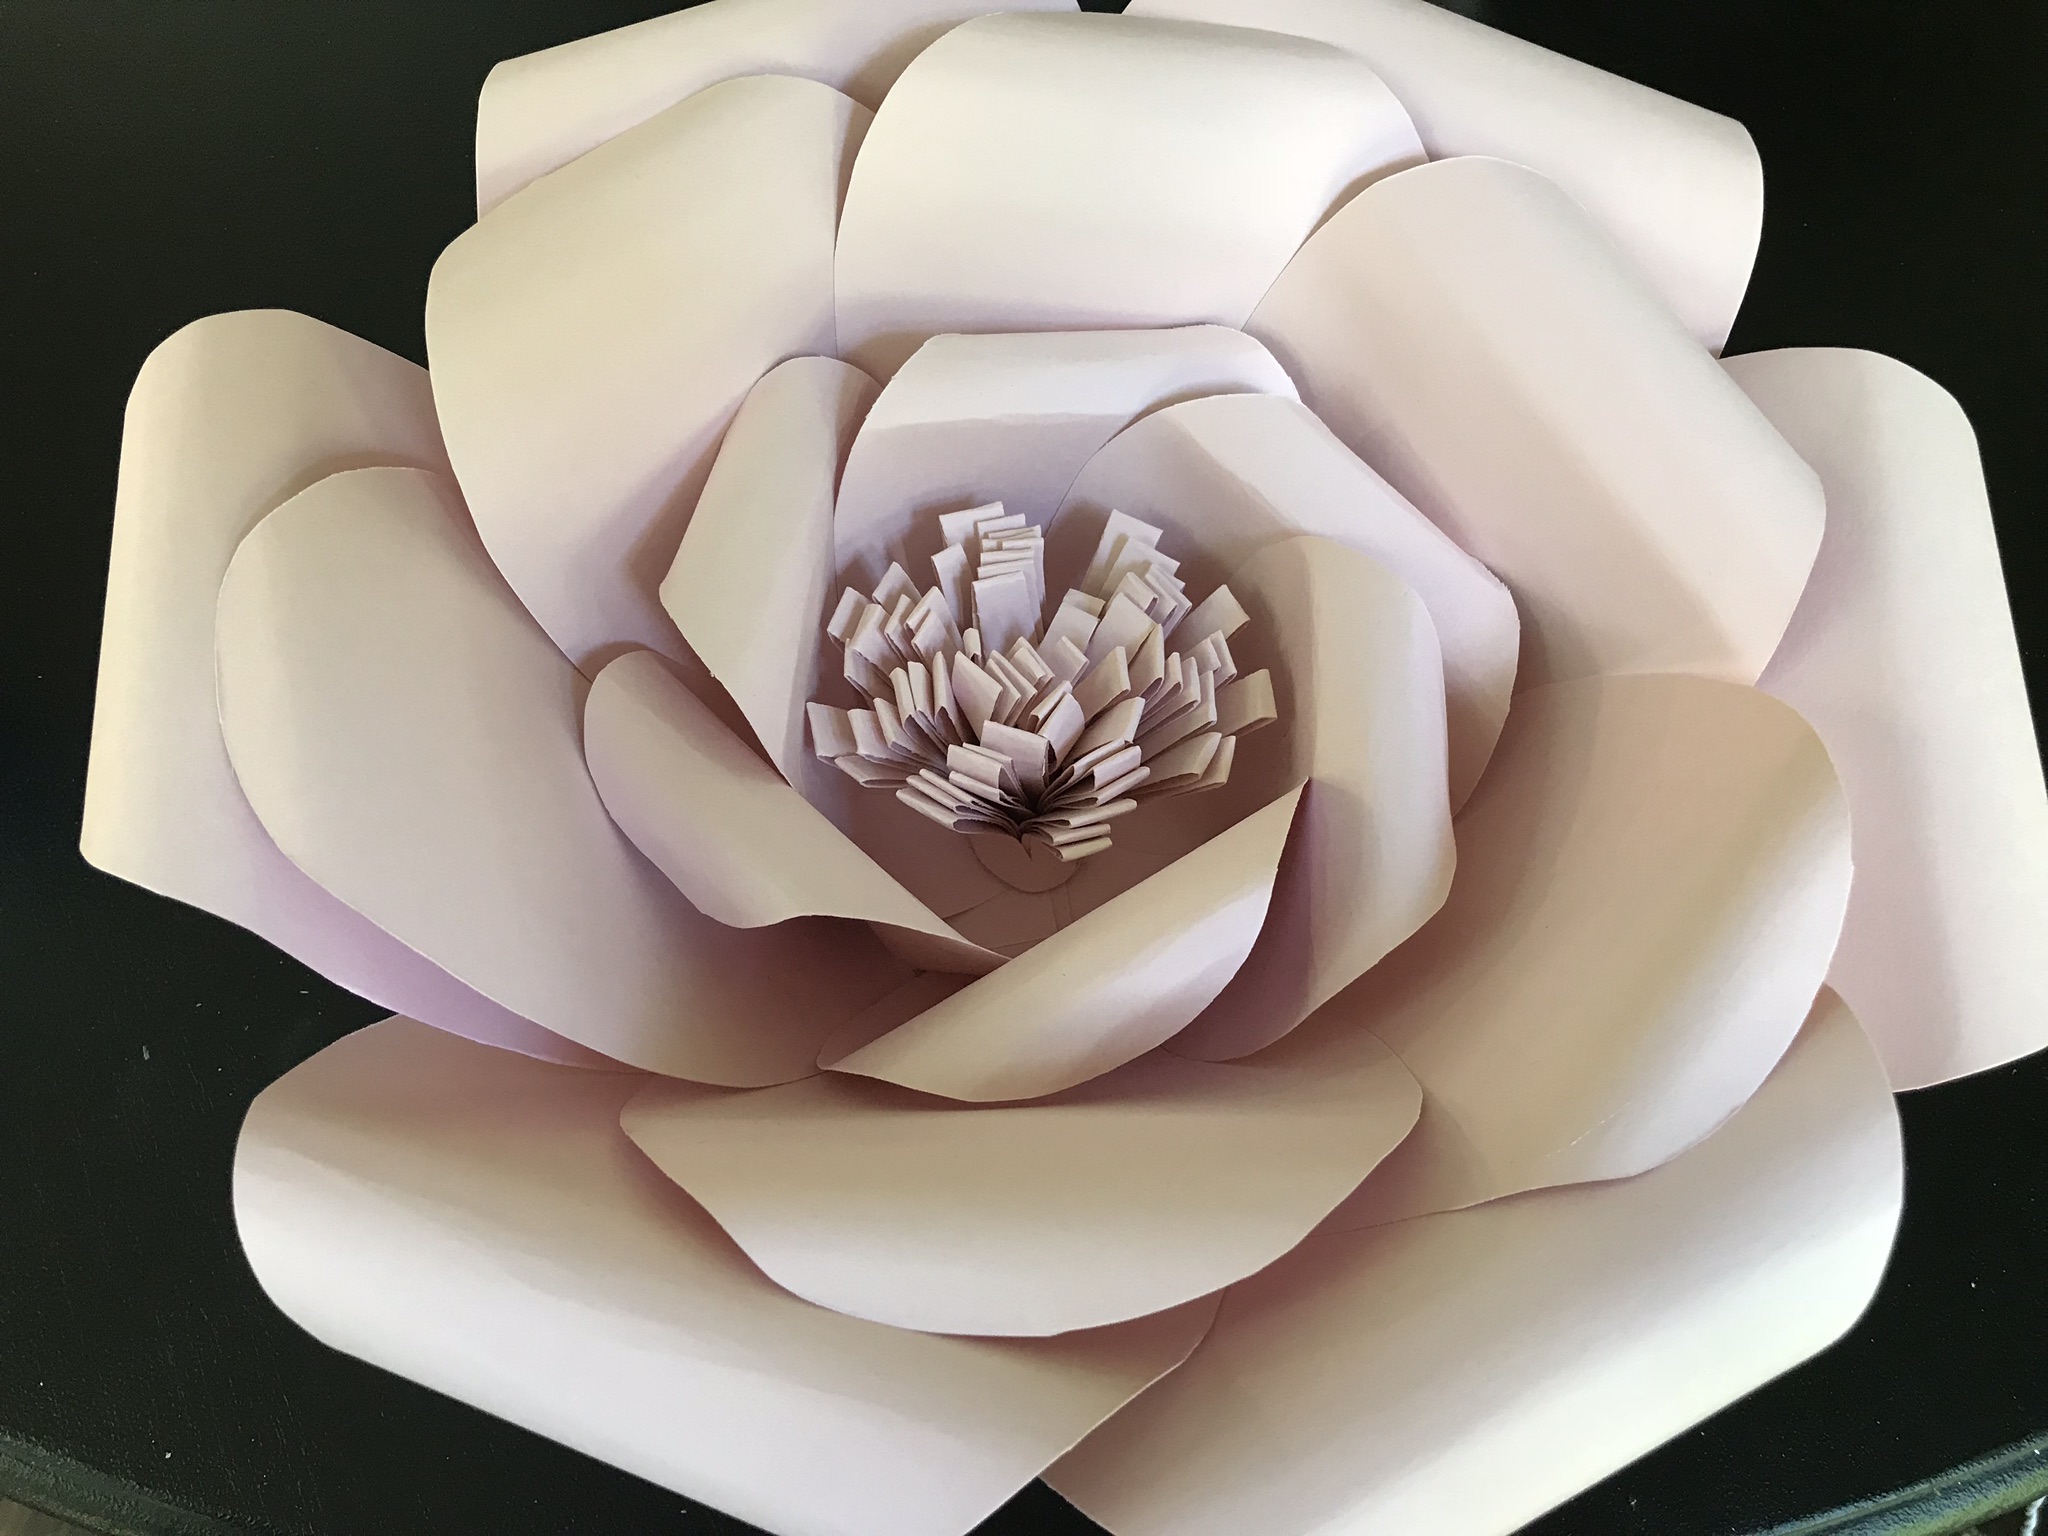
Paper. Flowers.
There are so many different kinds, but once you get the basic principles, you just change the shape and size of the pedals and you are golden.
Here’s how to make one of my favorite kinds of paper flowers.
Supplies:
- 9 pages heavy card stock
- Hot glue gun
- Serious scissors
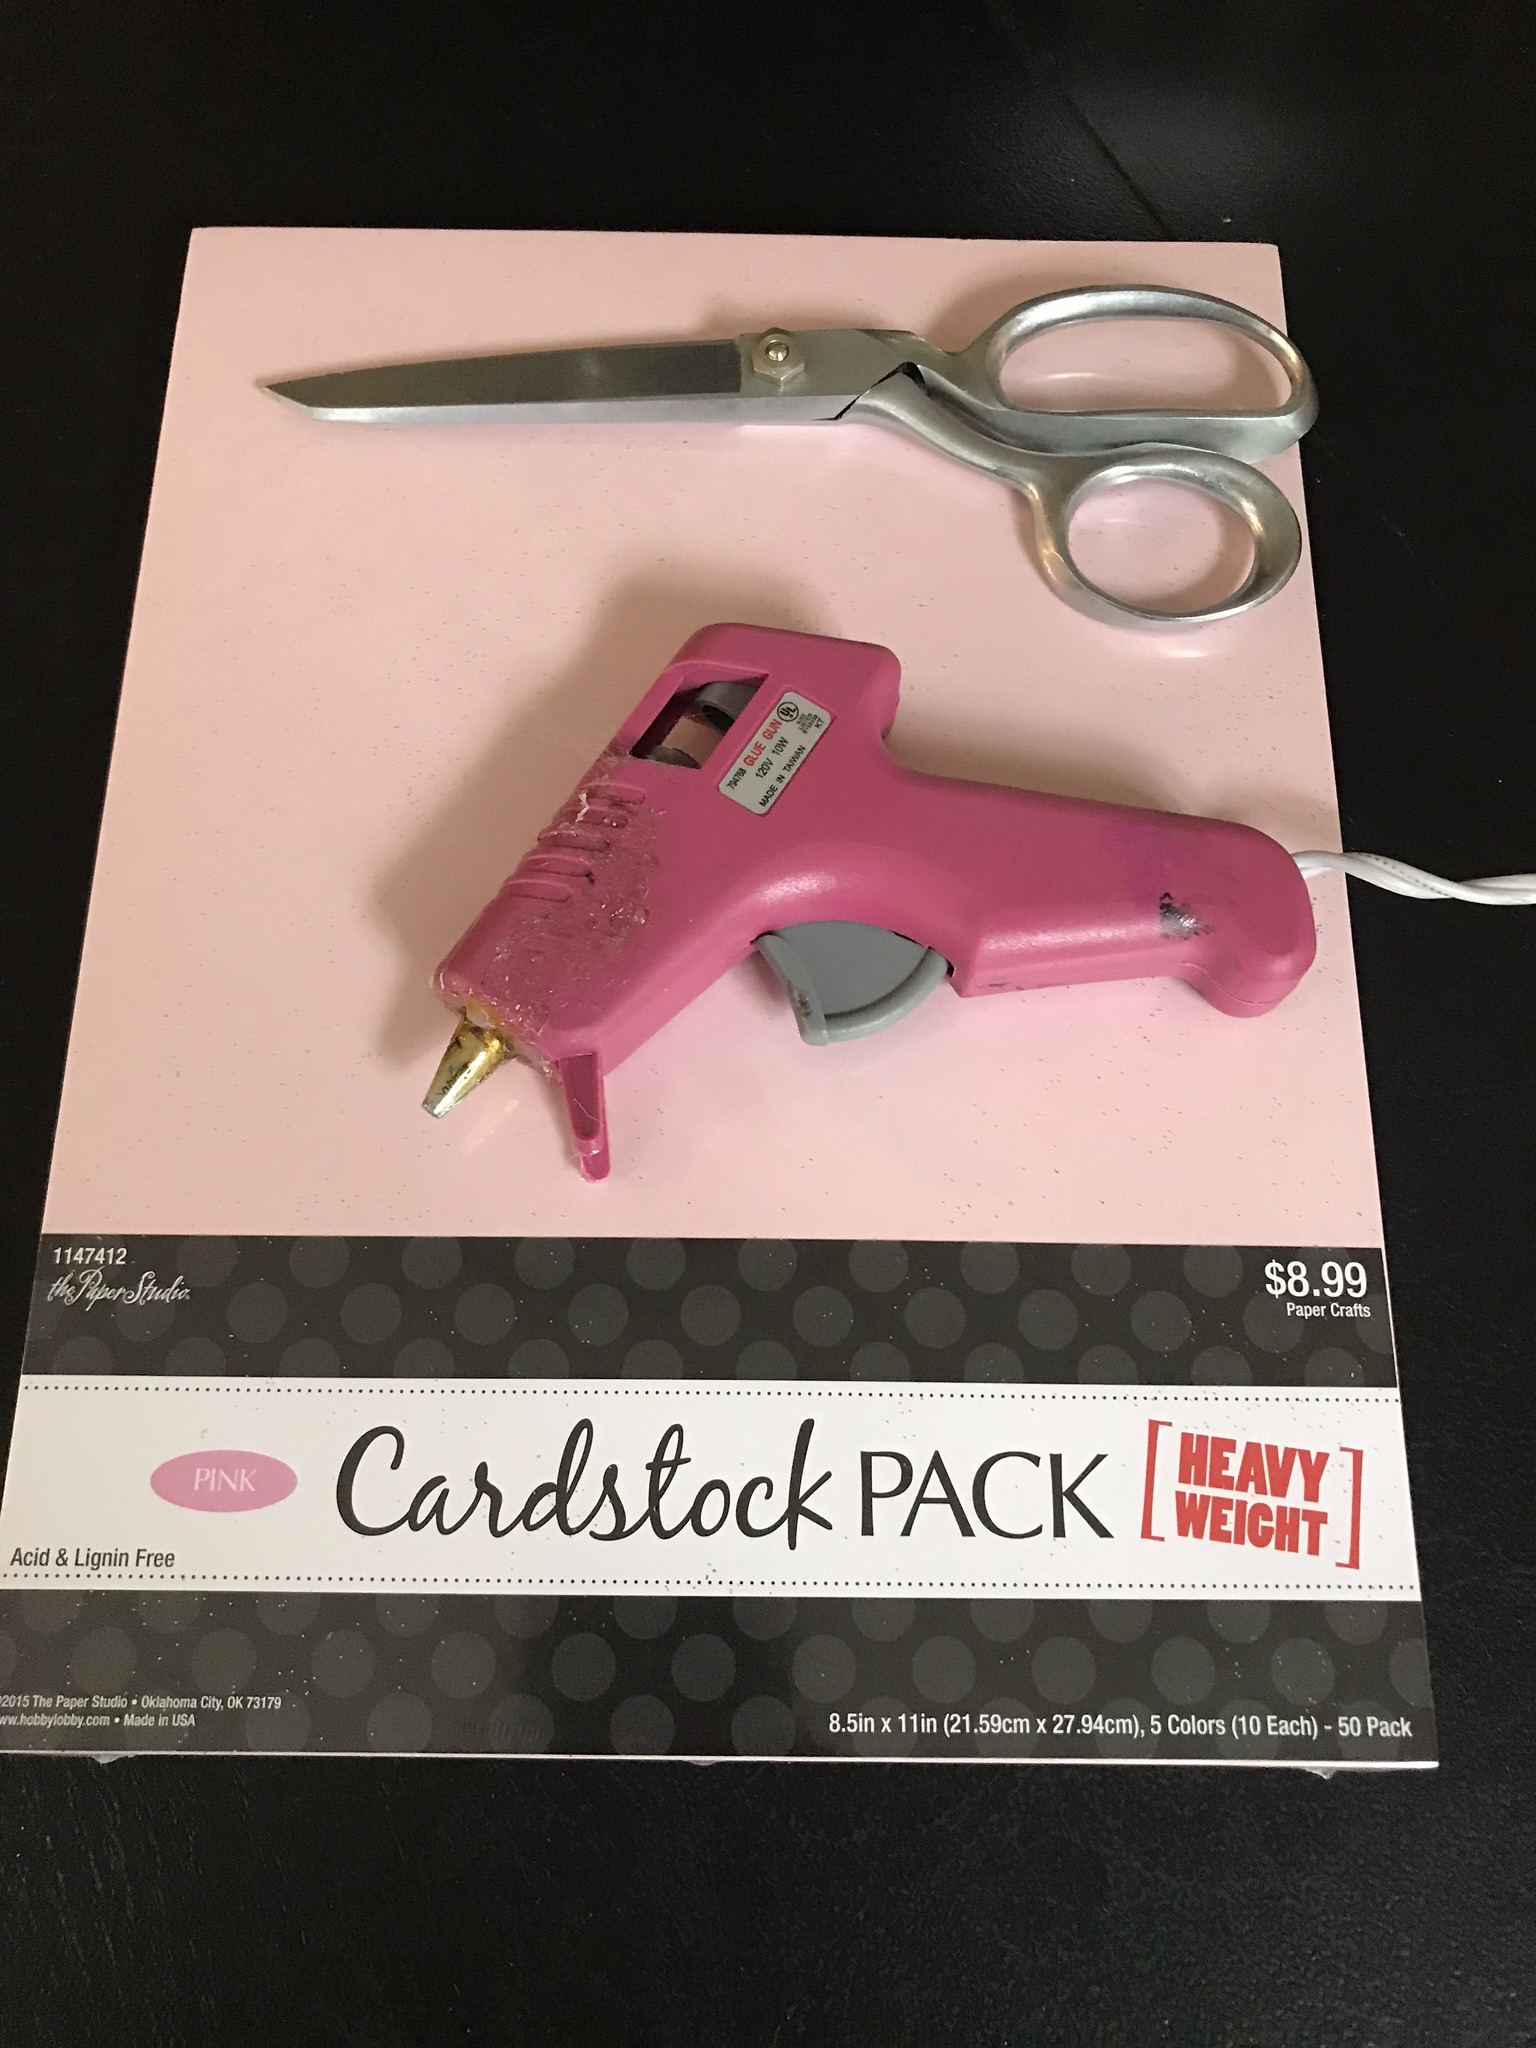
Yes… my hot glue gun is ancient but it’s the BEST.
Method:
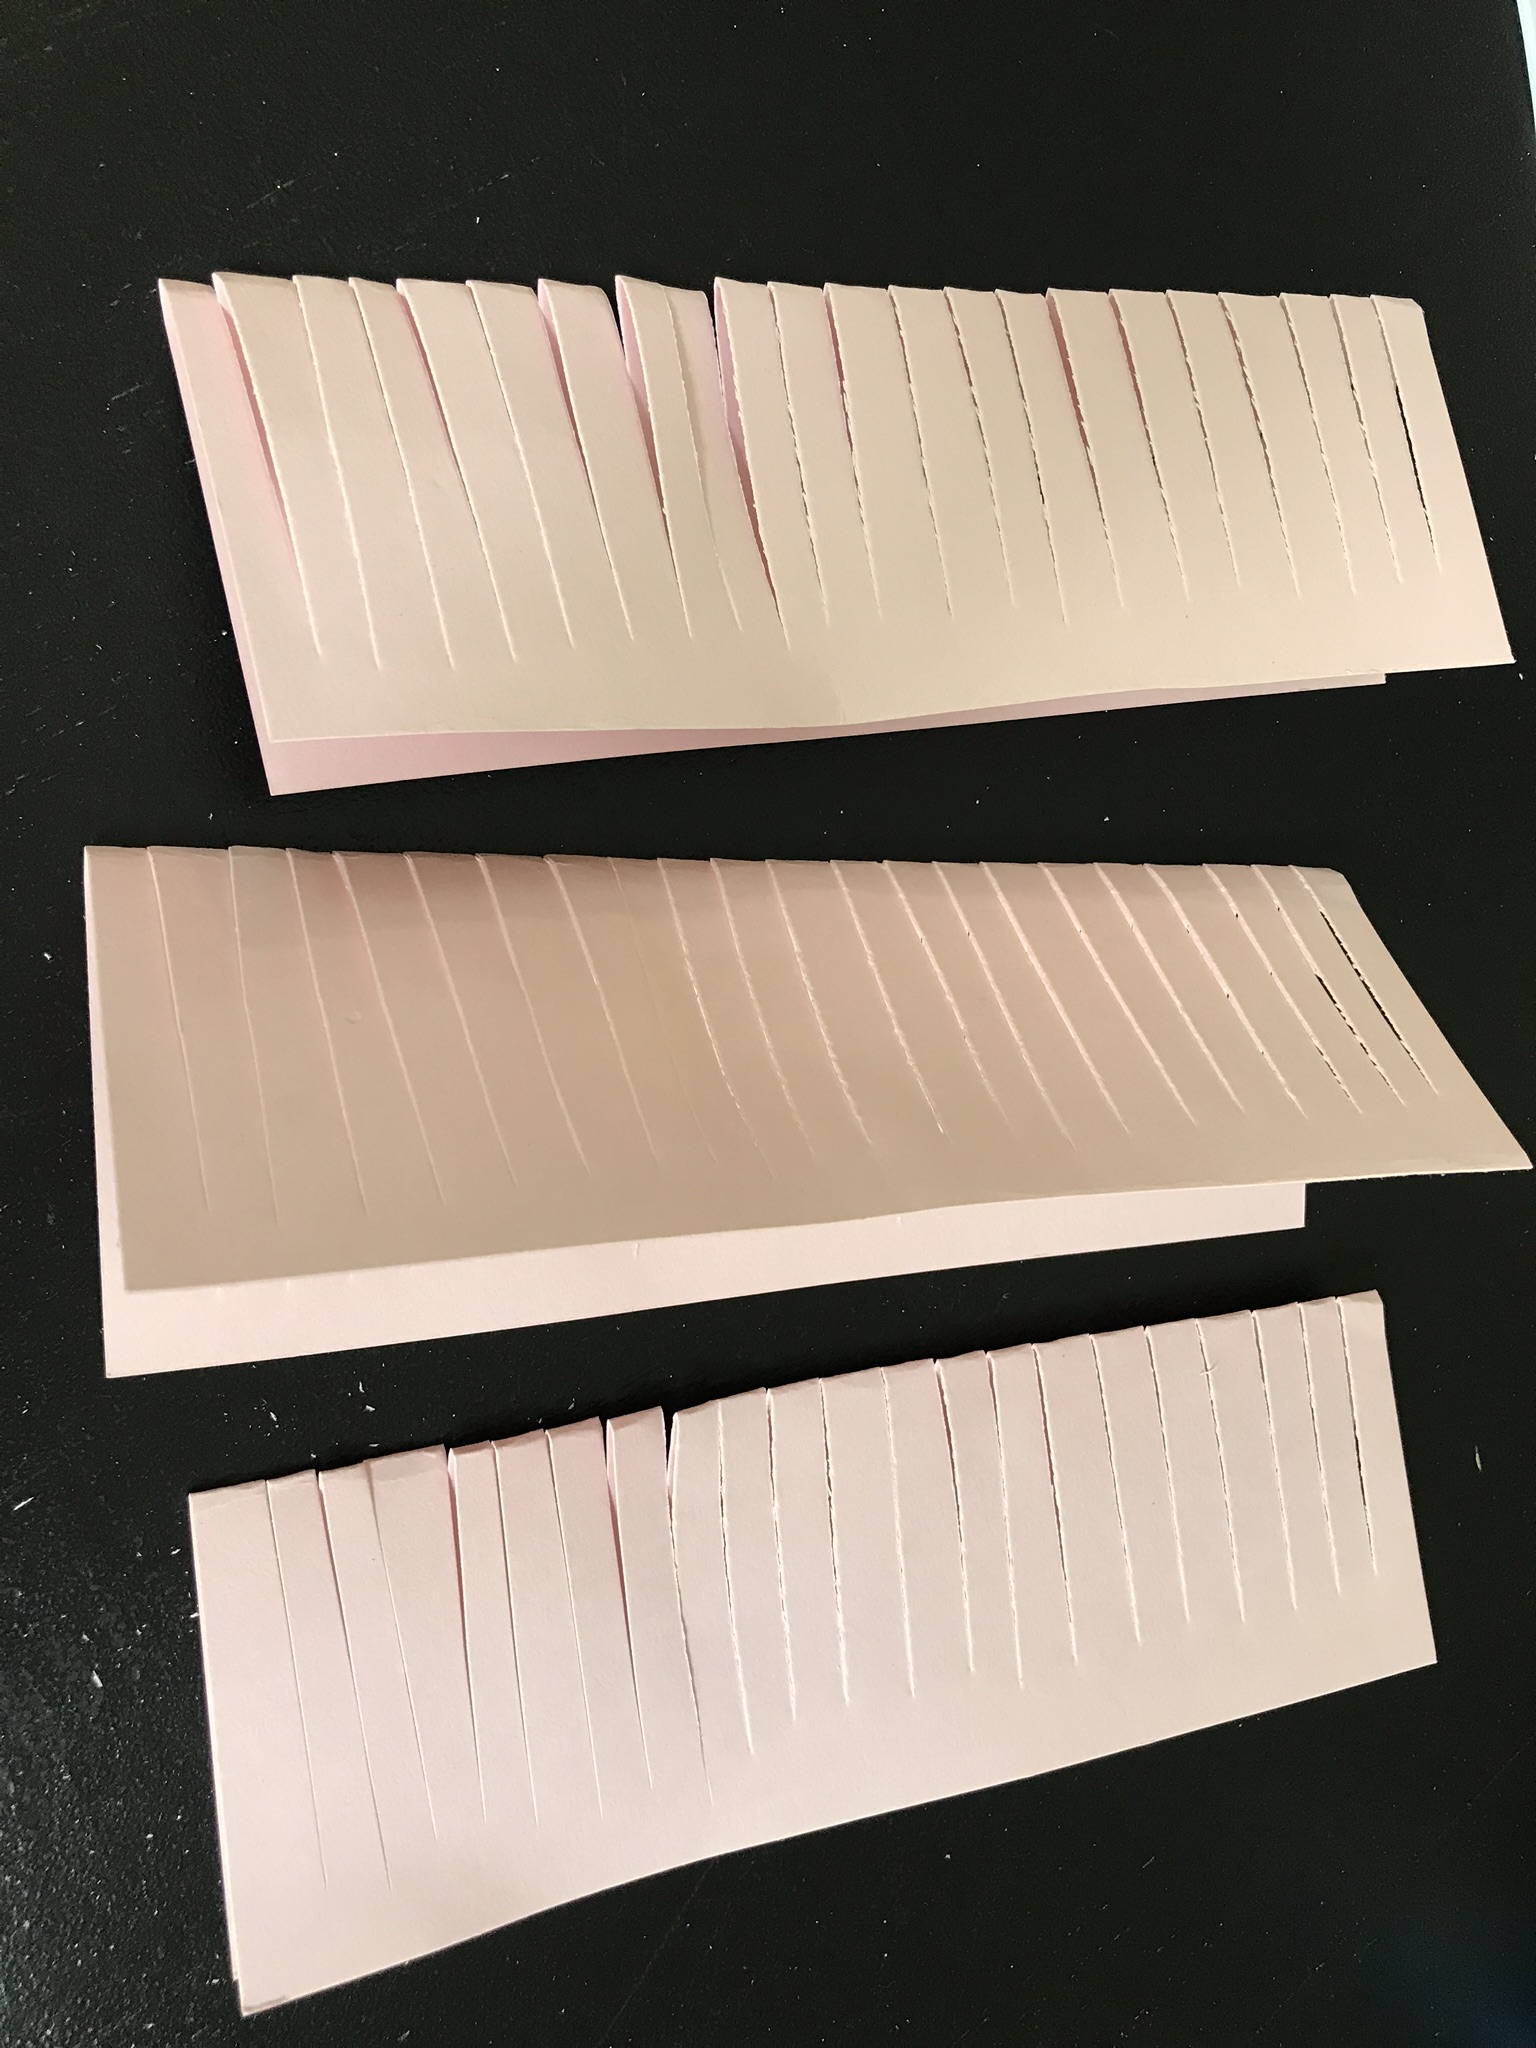
Fold all 9 sheets in half widthwise and cut
Take 3 of the half sheets, half them again and cut

You will make your own templates for 3 sizes of petals. One will fill the whole half page, one smaller, and one will fill the quarter page. Save 3 of the quarter pages to make the center piece.

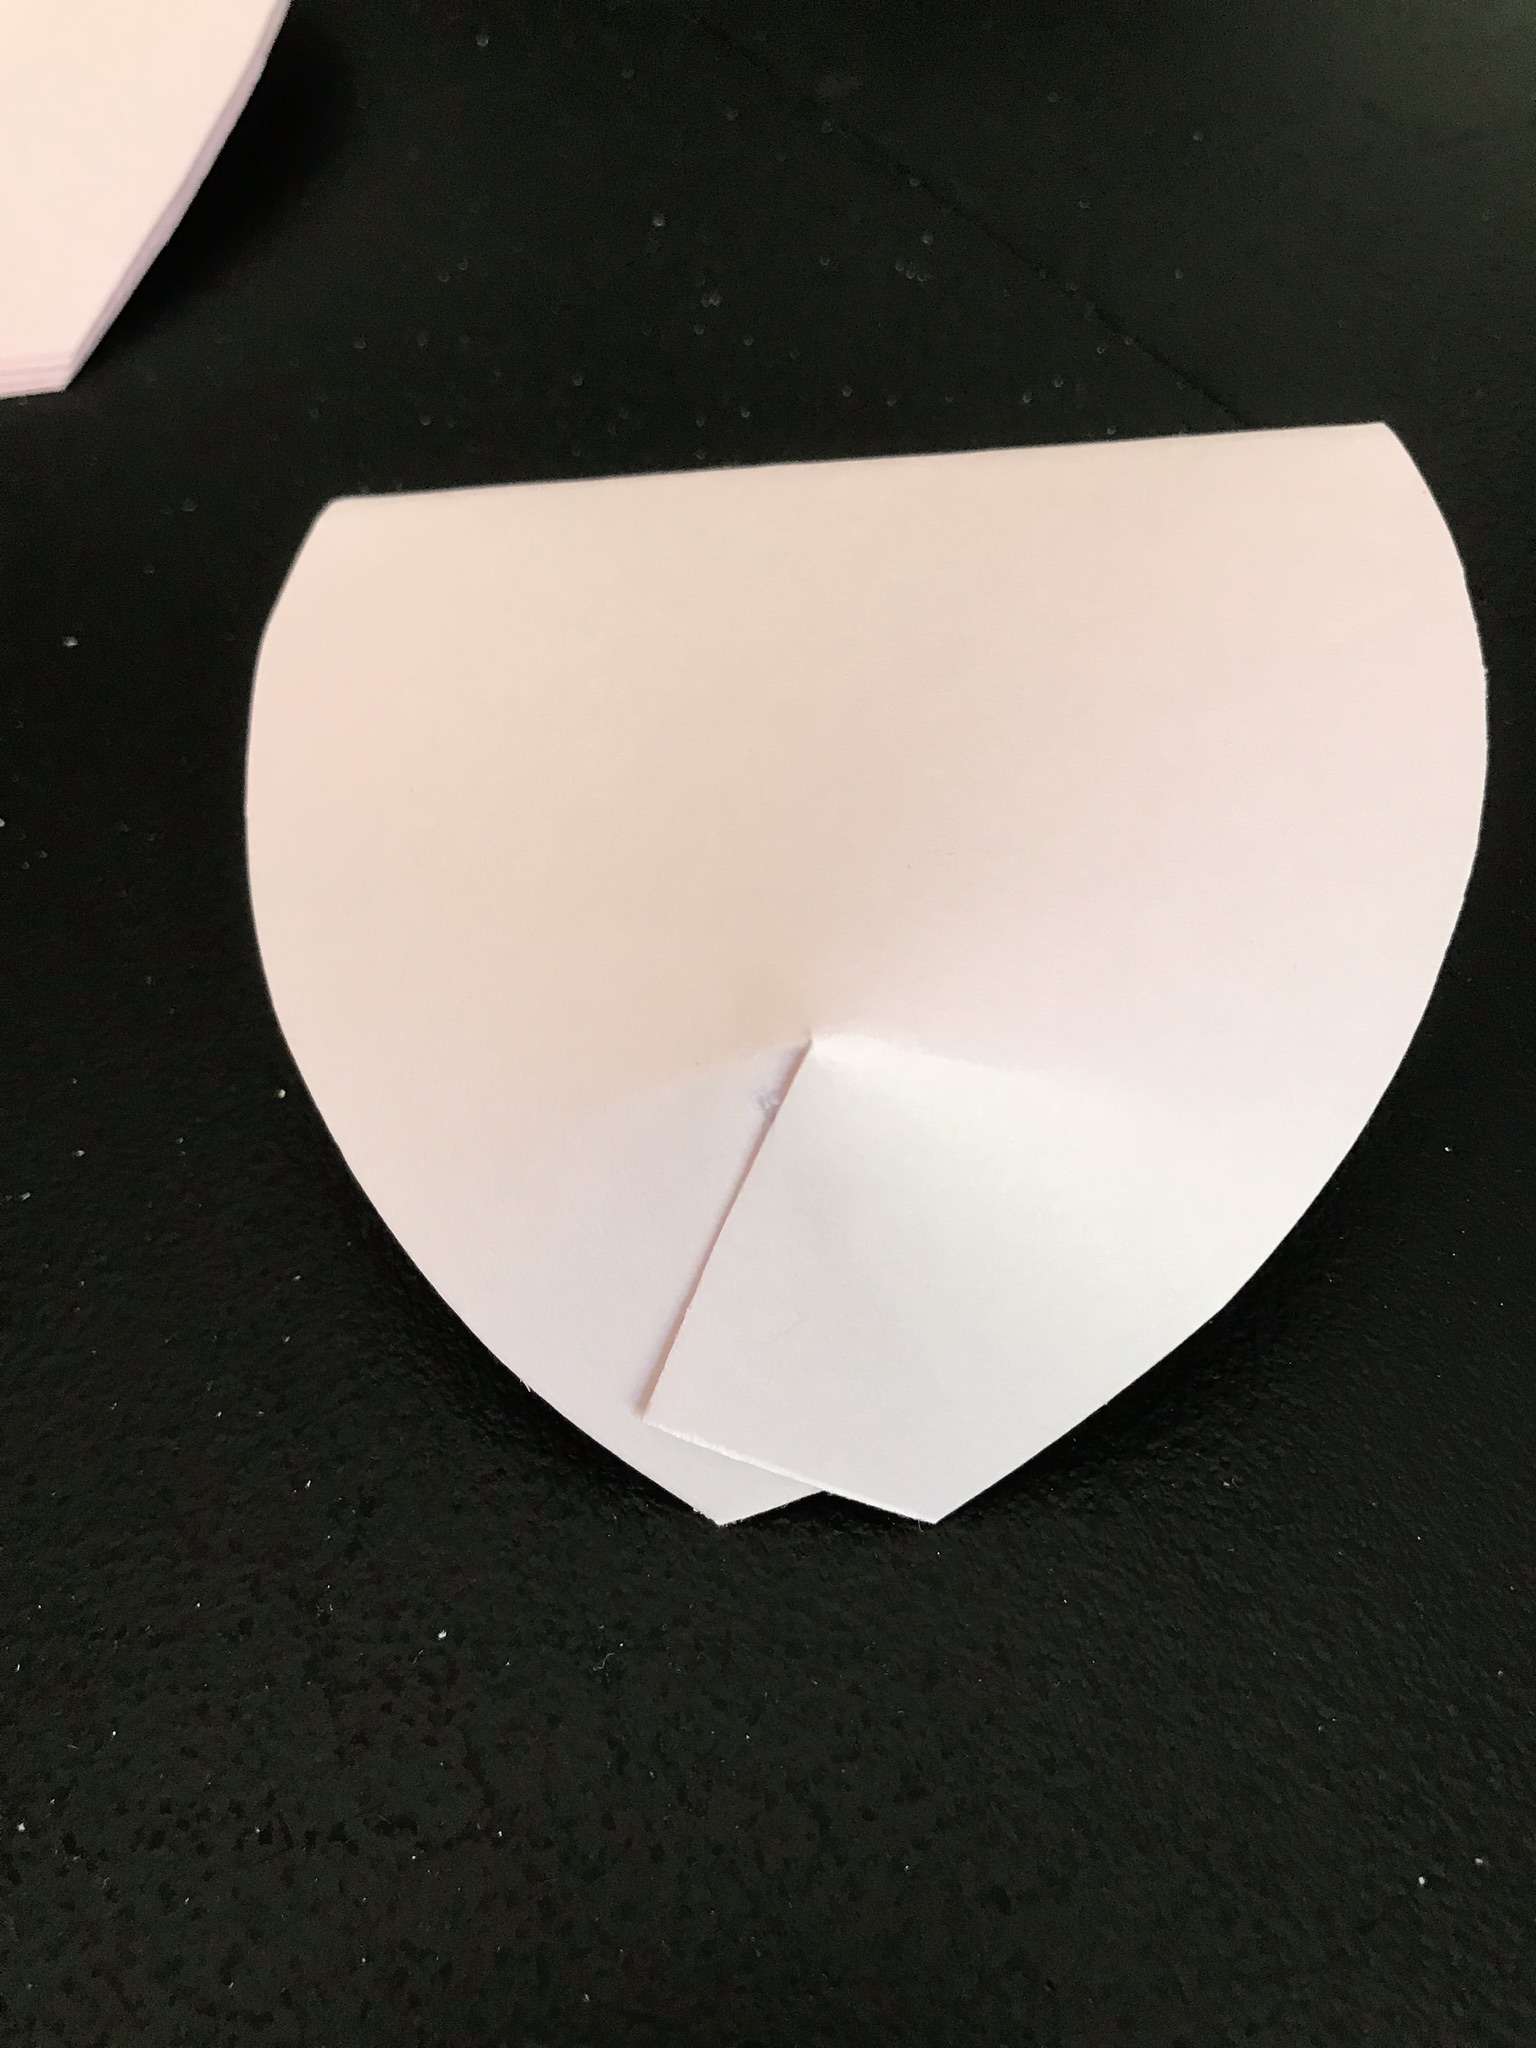
Cut 6 of each size petal
and a 2 inch slit in the bottom.


Curl the ends by rolling with your hand or using a ruler. Be mindful of paper cuts. Card stock paper cuts hurt like unmedicated birth.

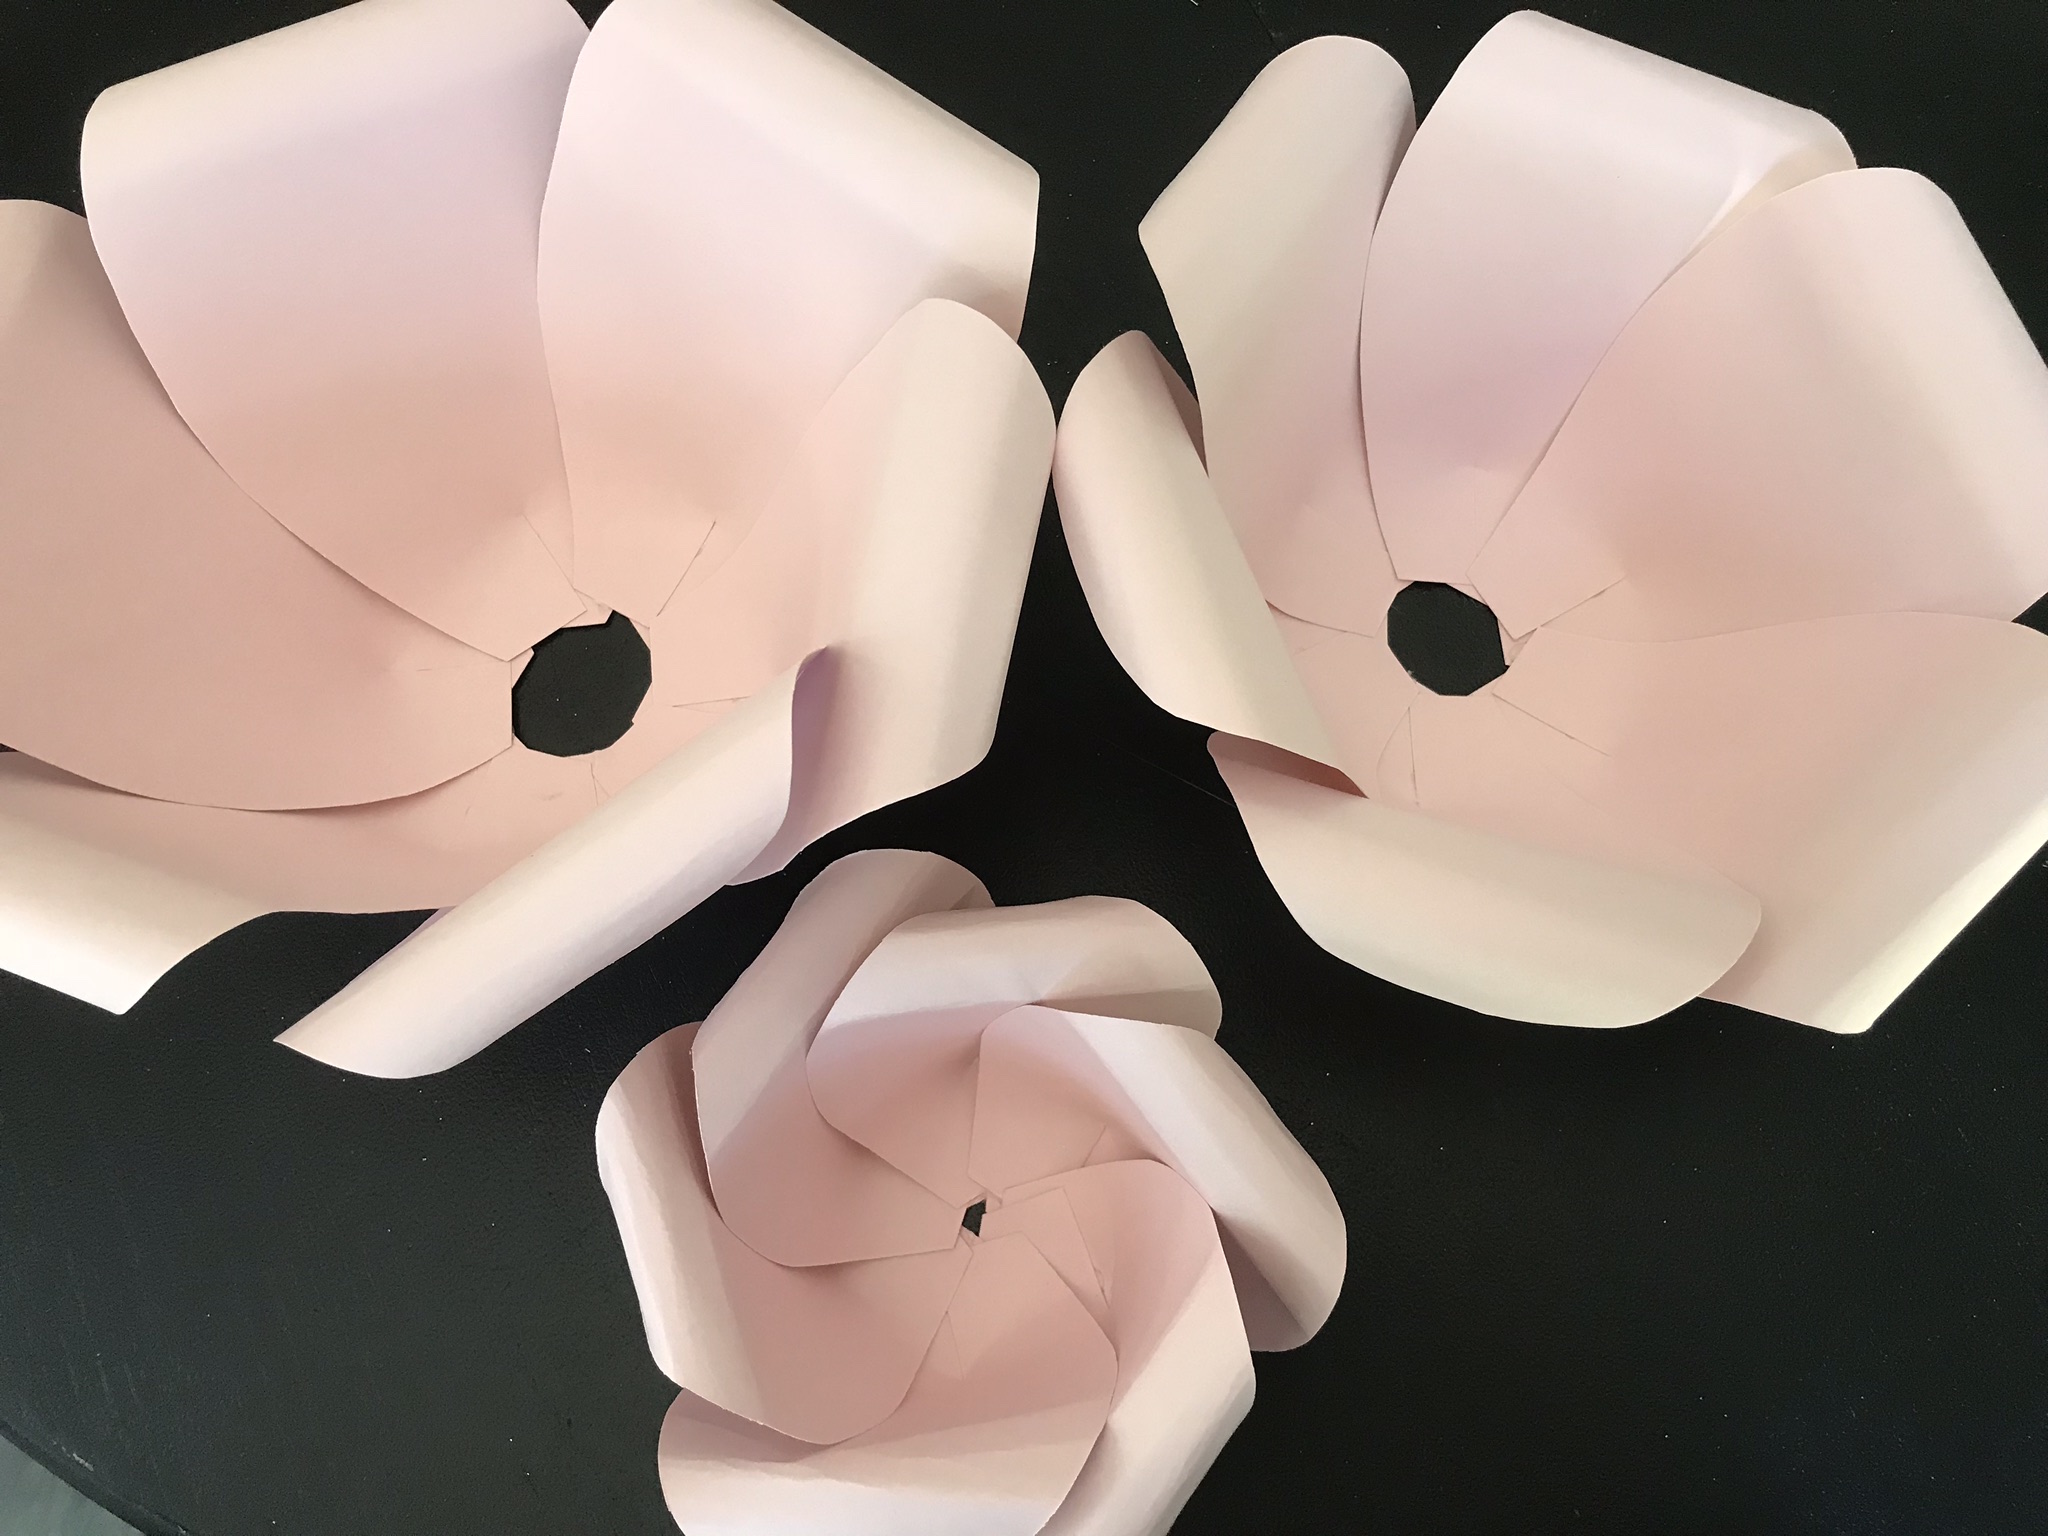
You’re going to make 3 different sized “bowls” for the flower.
I like starting with the middle/ smallest bowl – but you do you.
Glue time! Have the slit facing you and the curl going under.
One line of glue (you don’t need a ton) down one side of the slit and stick them together.

On the middle/ smallest bowl you’ll want the cups tighter to make a smaller bowl. Then, loosen up as you move to the outer bowls.
Make all the petals for the one bowl and get to sticking them together.

6 petals – 3 on each side – mind blown.
You’d be surprised how long it took me to come up with this as a solution.
Mom brain is SO REAL.
Put a line of glue on the side and stick those suckers together.


Yep. Half bowl. Why was this so hard for me to understand??
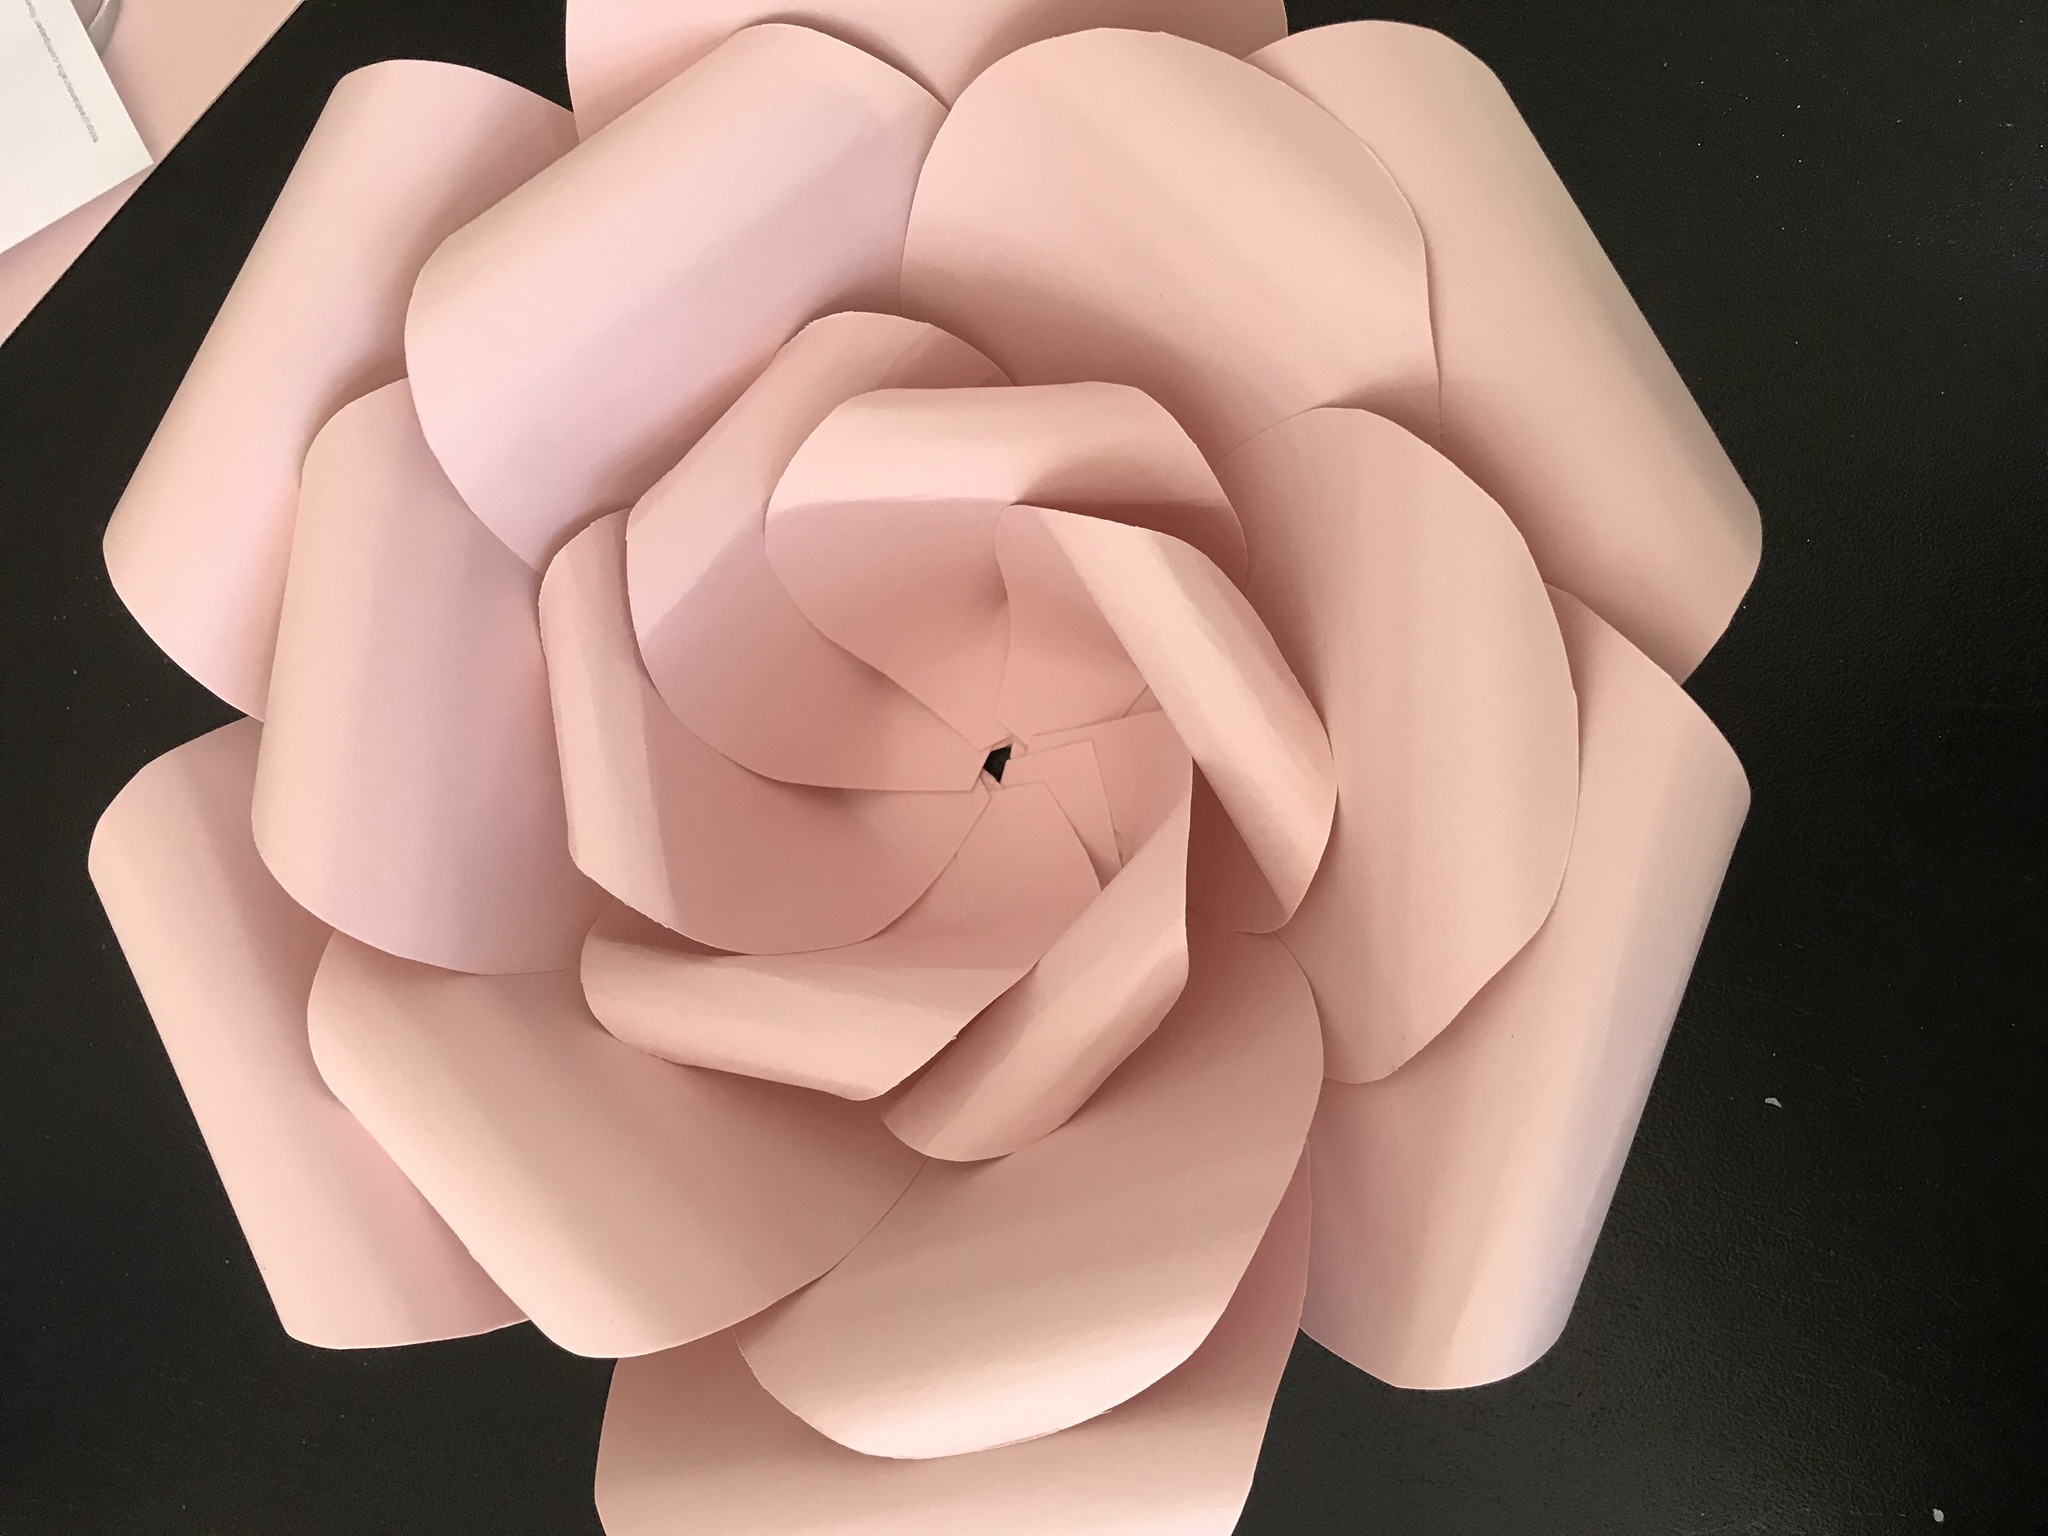
Continue with the next 3 and make a full bowl of 6! You may have to manipulate the last two to get them to connect and that’s ok. It’s not ruined if you have to rig it to fit together.

Continue this process with the next 2 bowls, keeping in mind they all have to fit in together in the end.
Pull out your handy glue gun to stick ‘em together.


Now it’s time for the center! This is where you can mix and match. With my arrangement I mixed up all the centers after I decided how I would arrange the flowers.
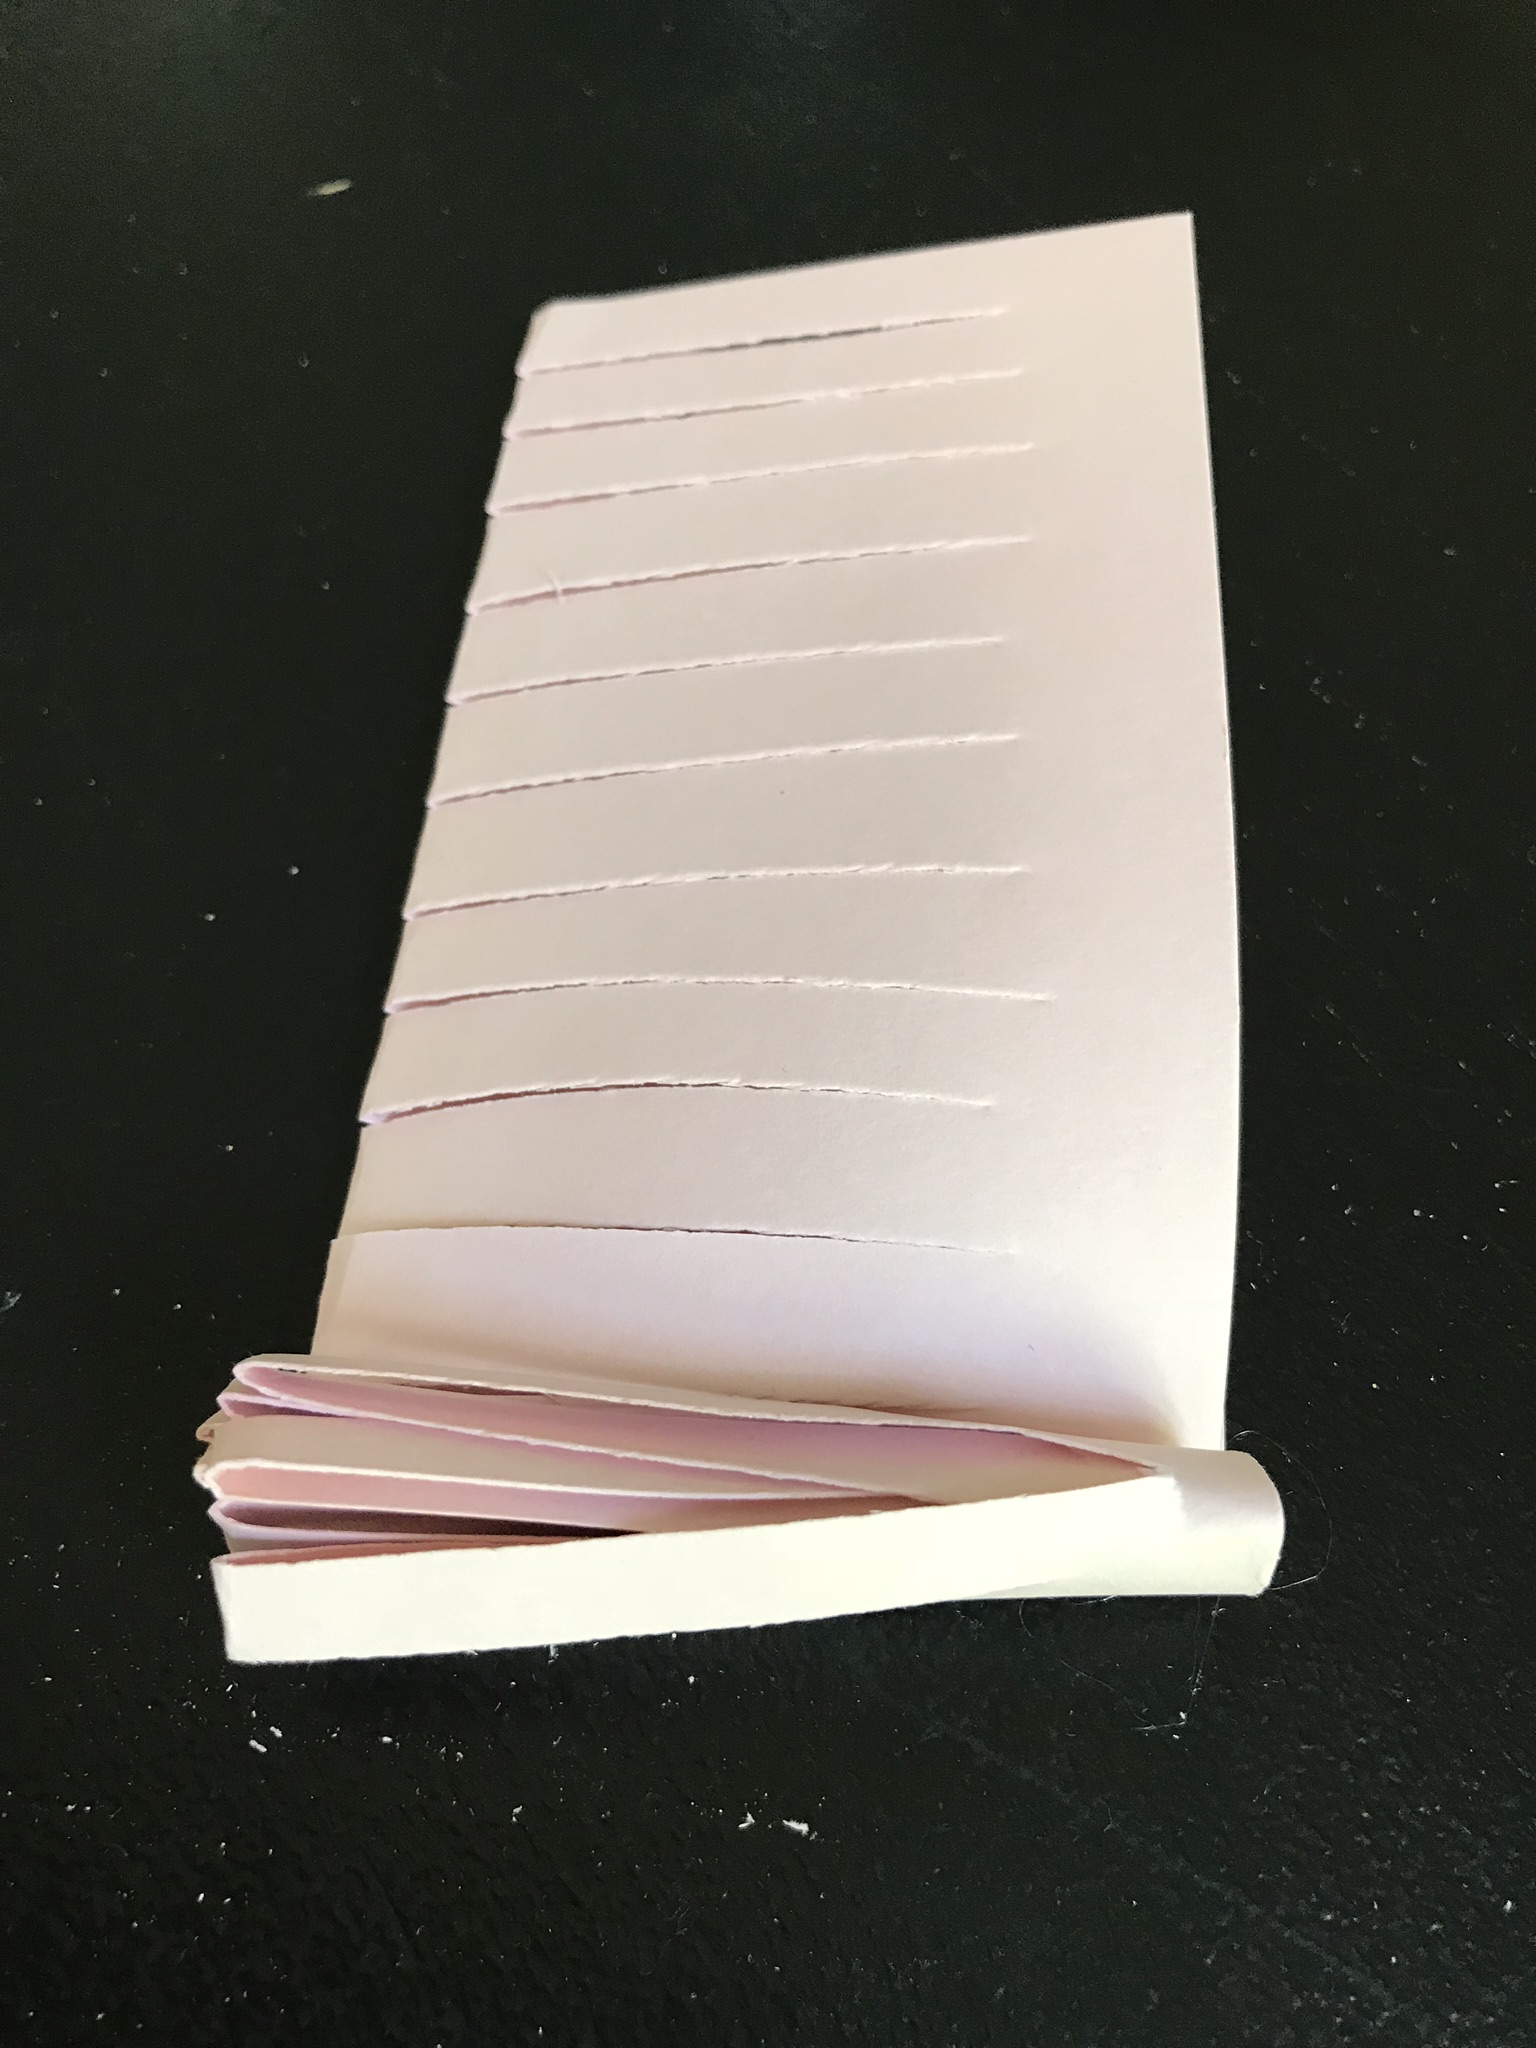
Fold the 3 sheets in half length wise and cut on the folded edge almost all the way across – leave about a half inch.
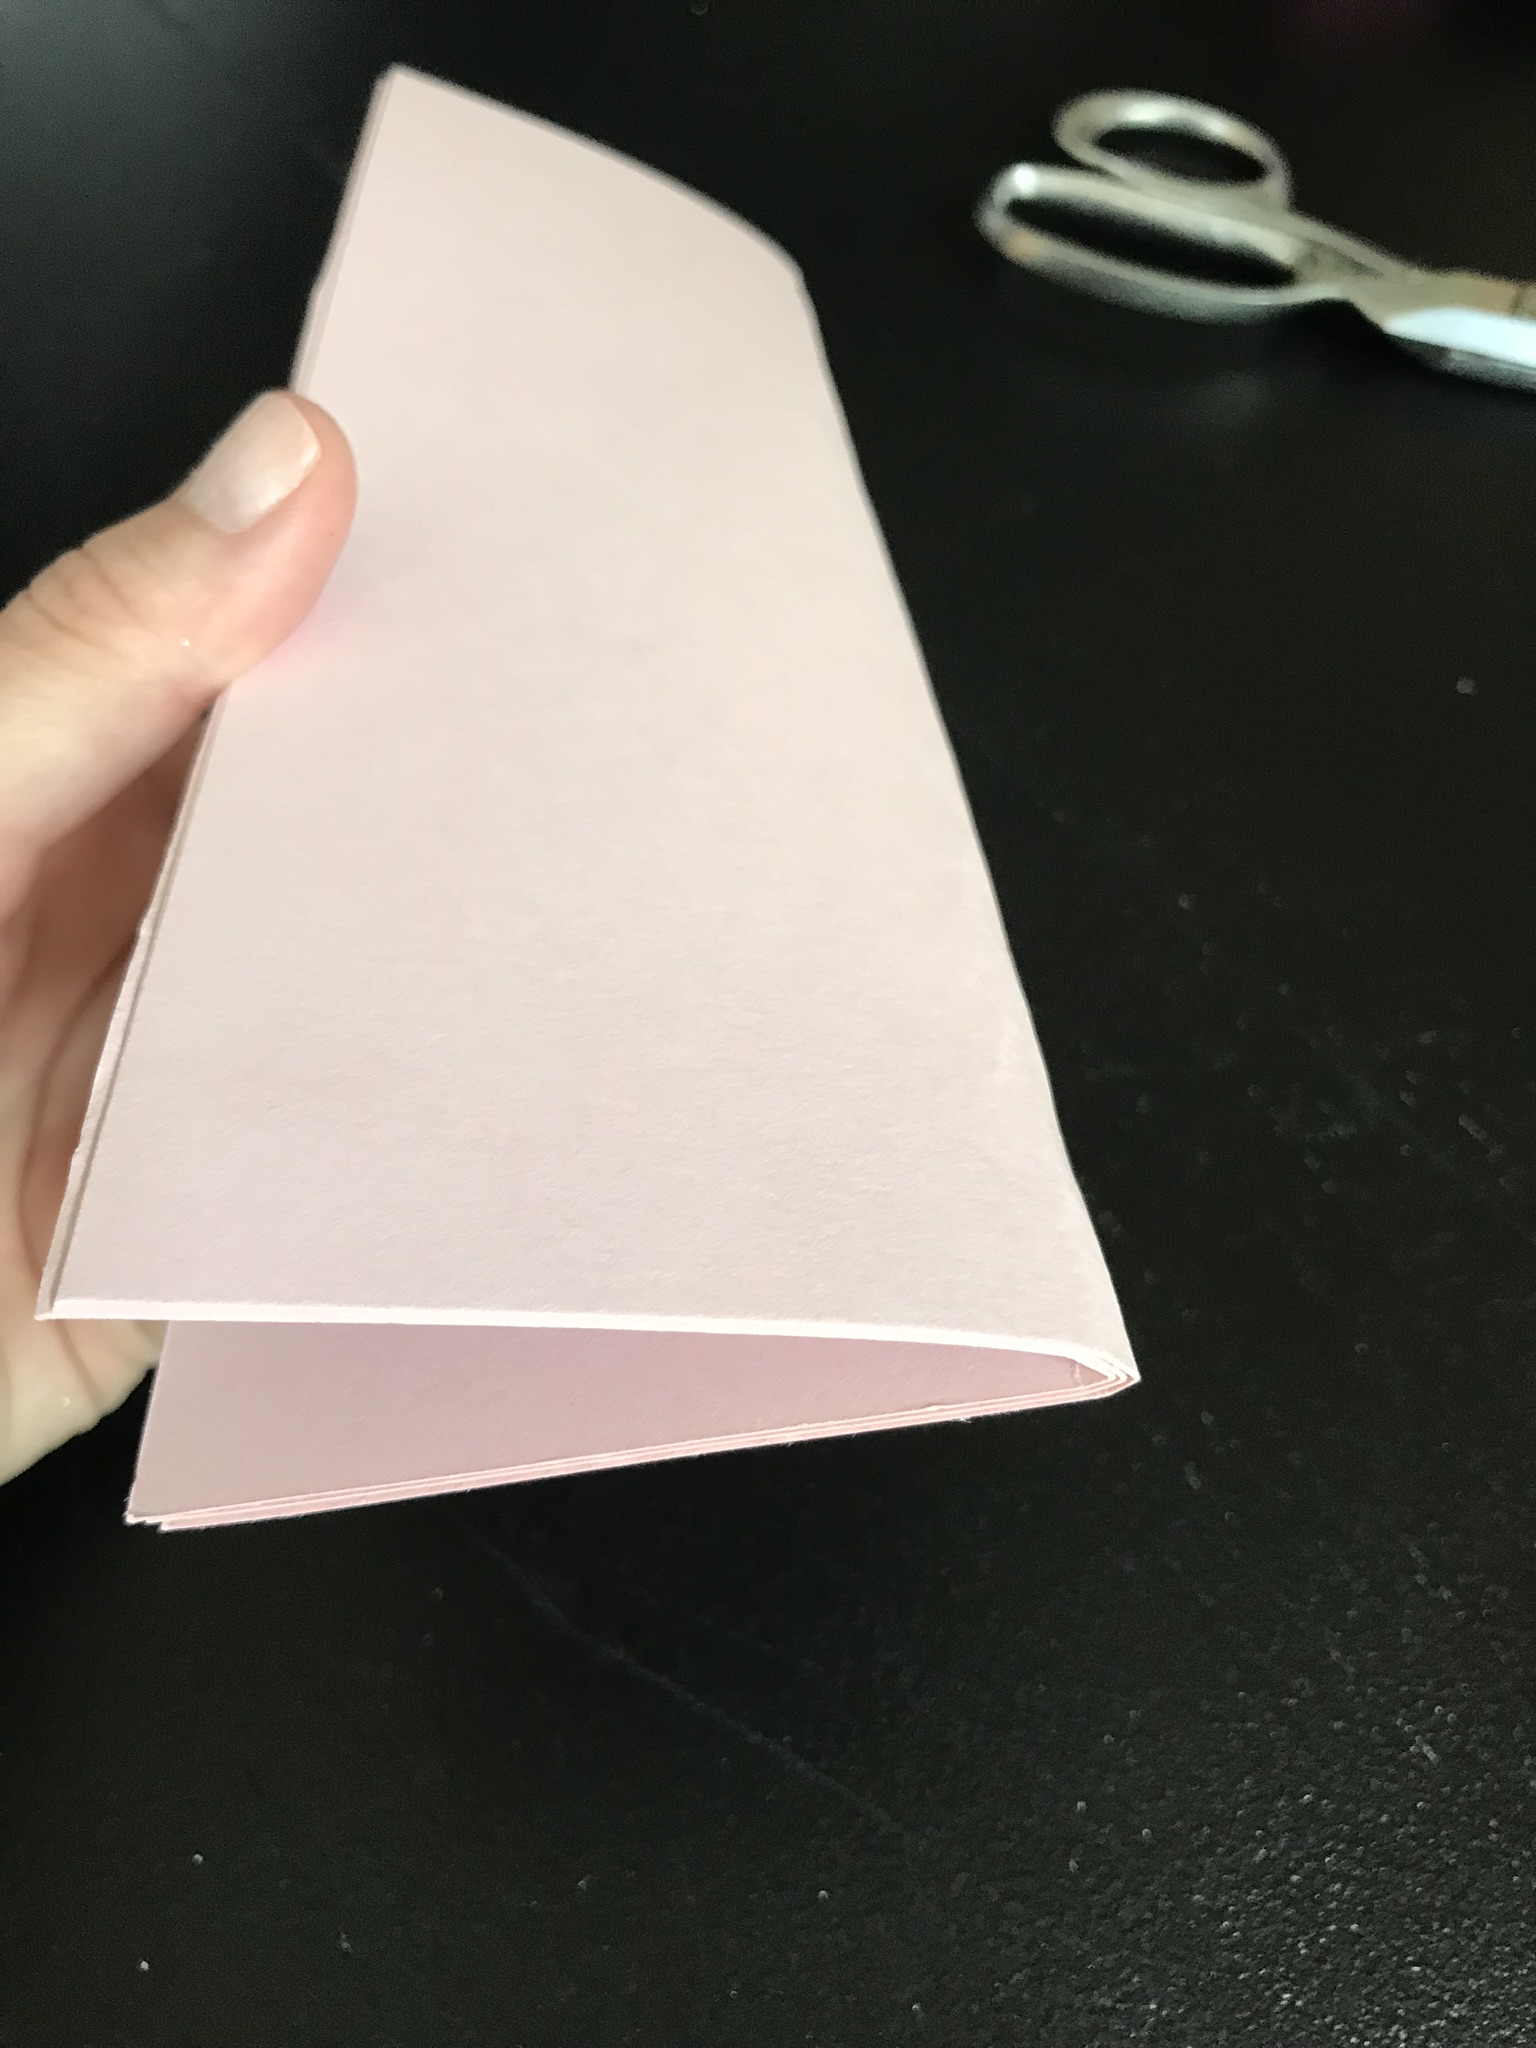


I cut them all together. Work smarter not harder.
Grab one of the sheets, roll it tightly adding hot glue along the way to keep it sticking.
Add the next sheet to the stump and keep going until you complete rolling all 3 together.
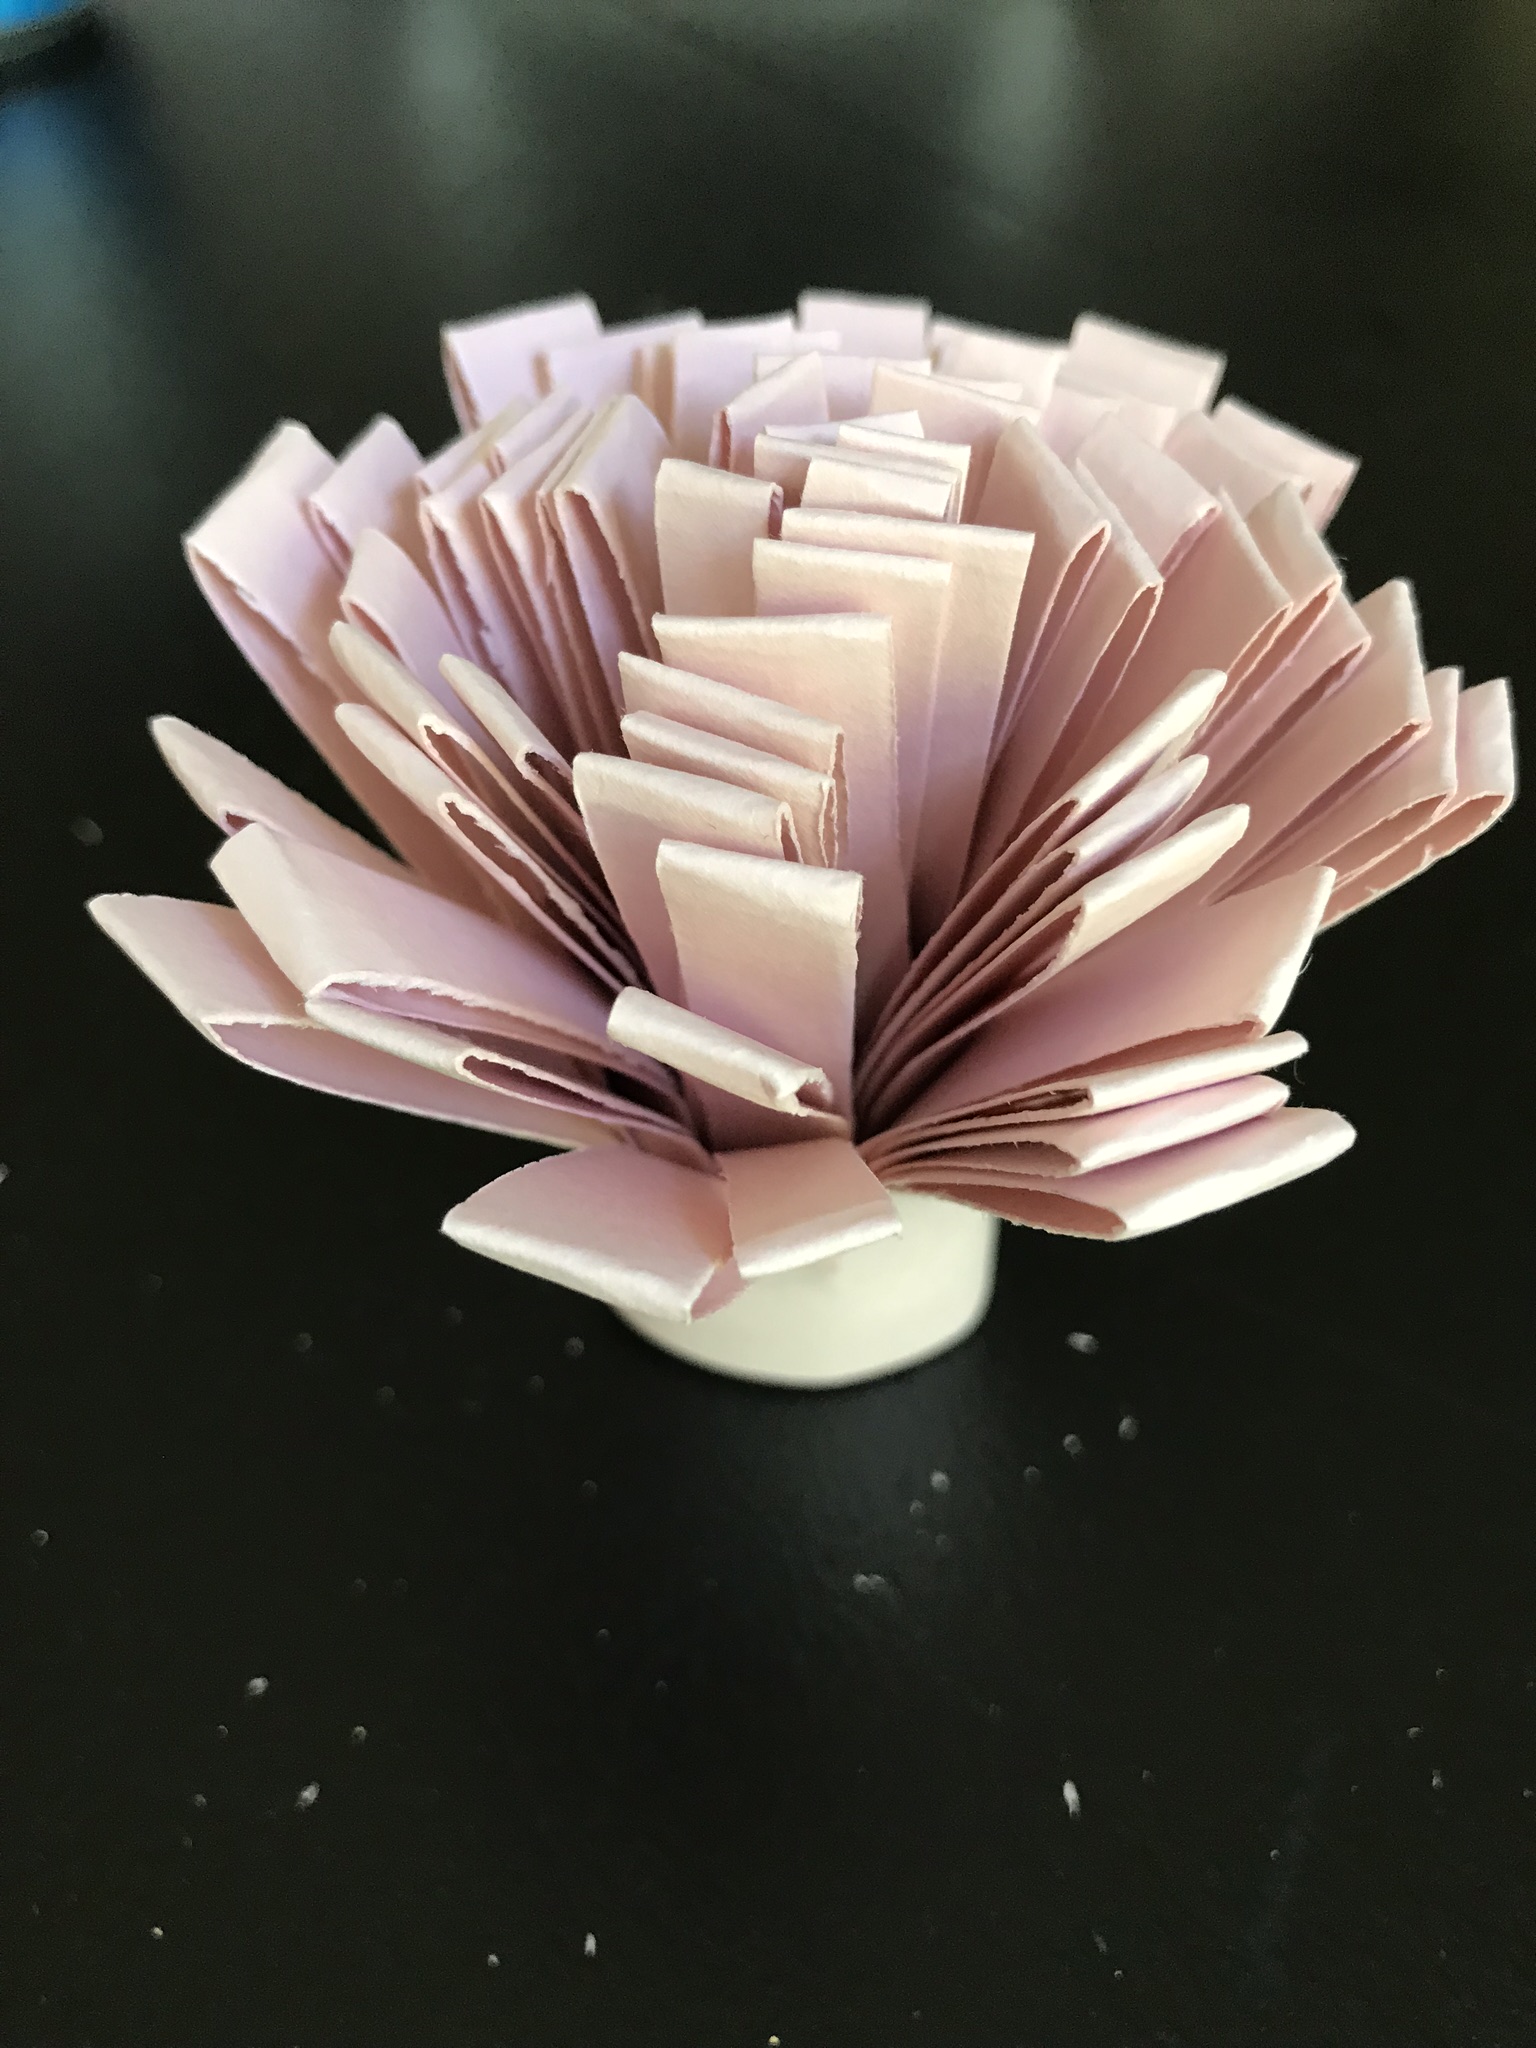
Fan out the pedals and admire your hard work!
You will glue this baby to the middle. You may want a scrap piece of paper or felt on the back of the flower if you have a big hole in the middle to keep the glue from going through.

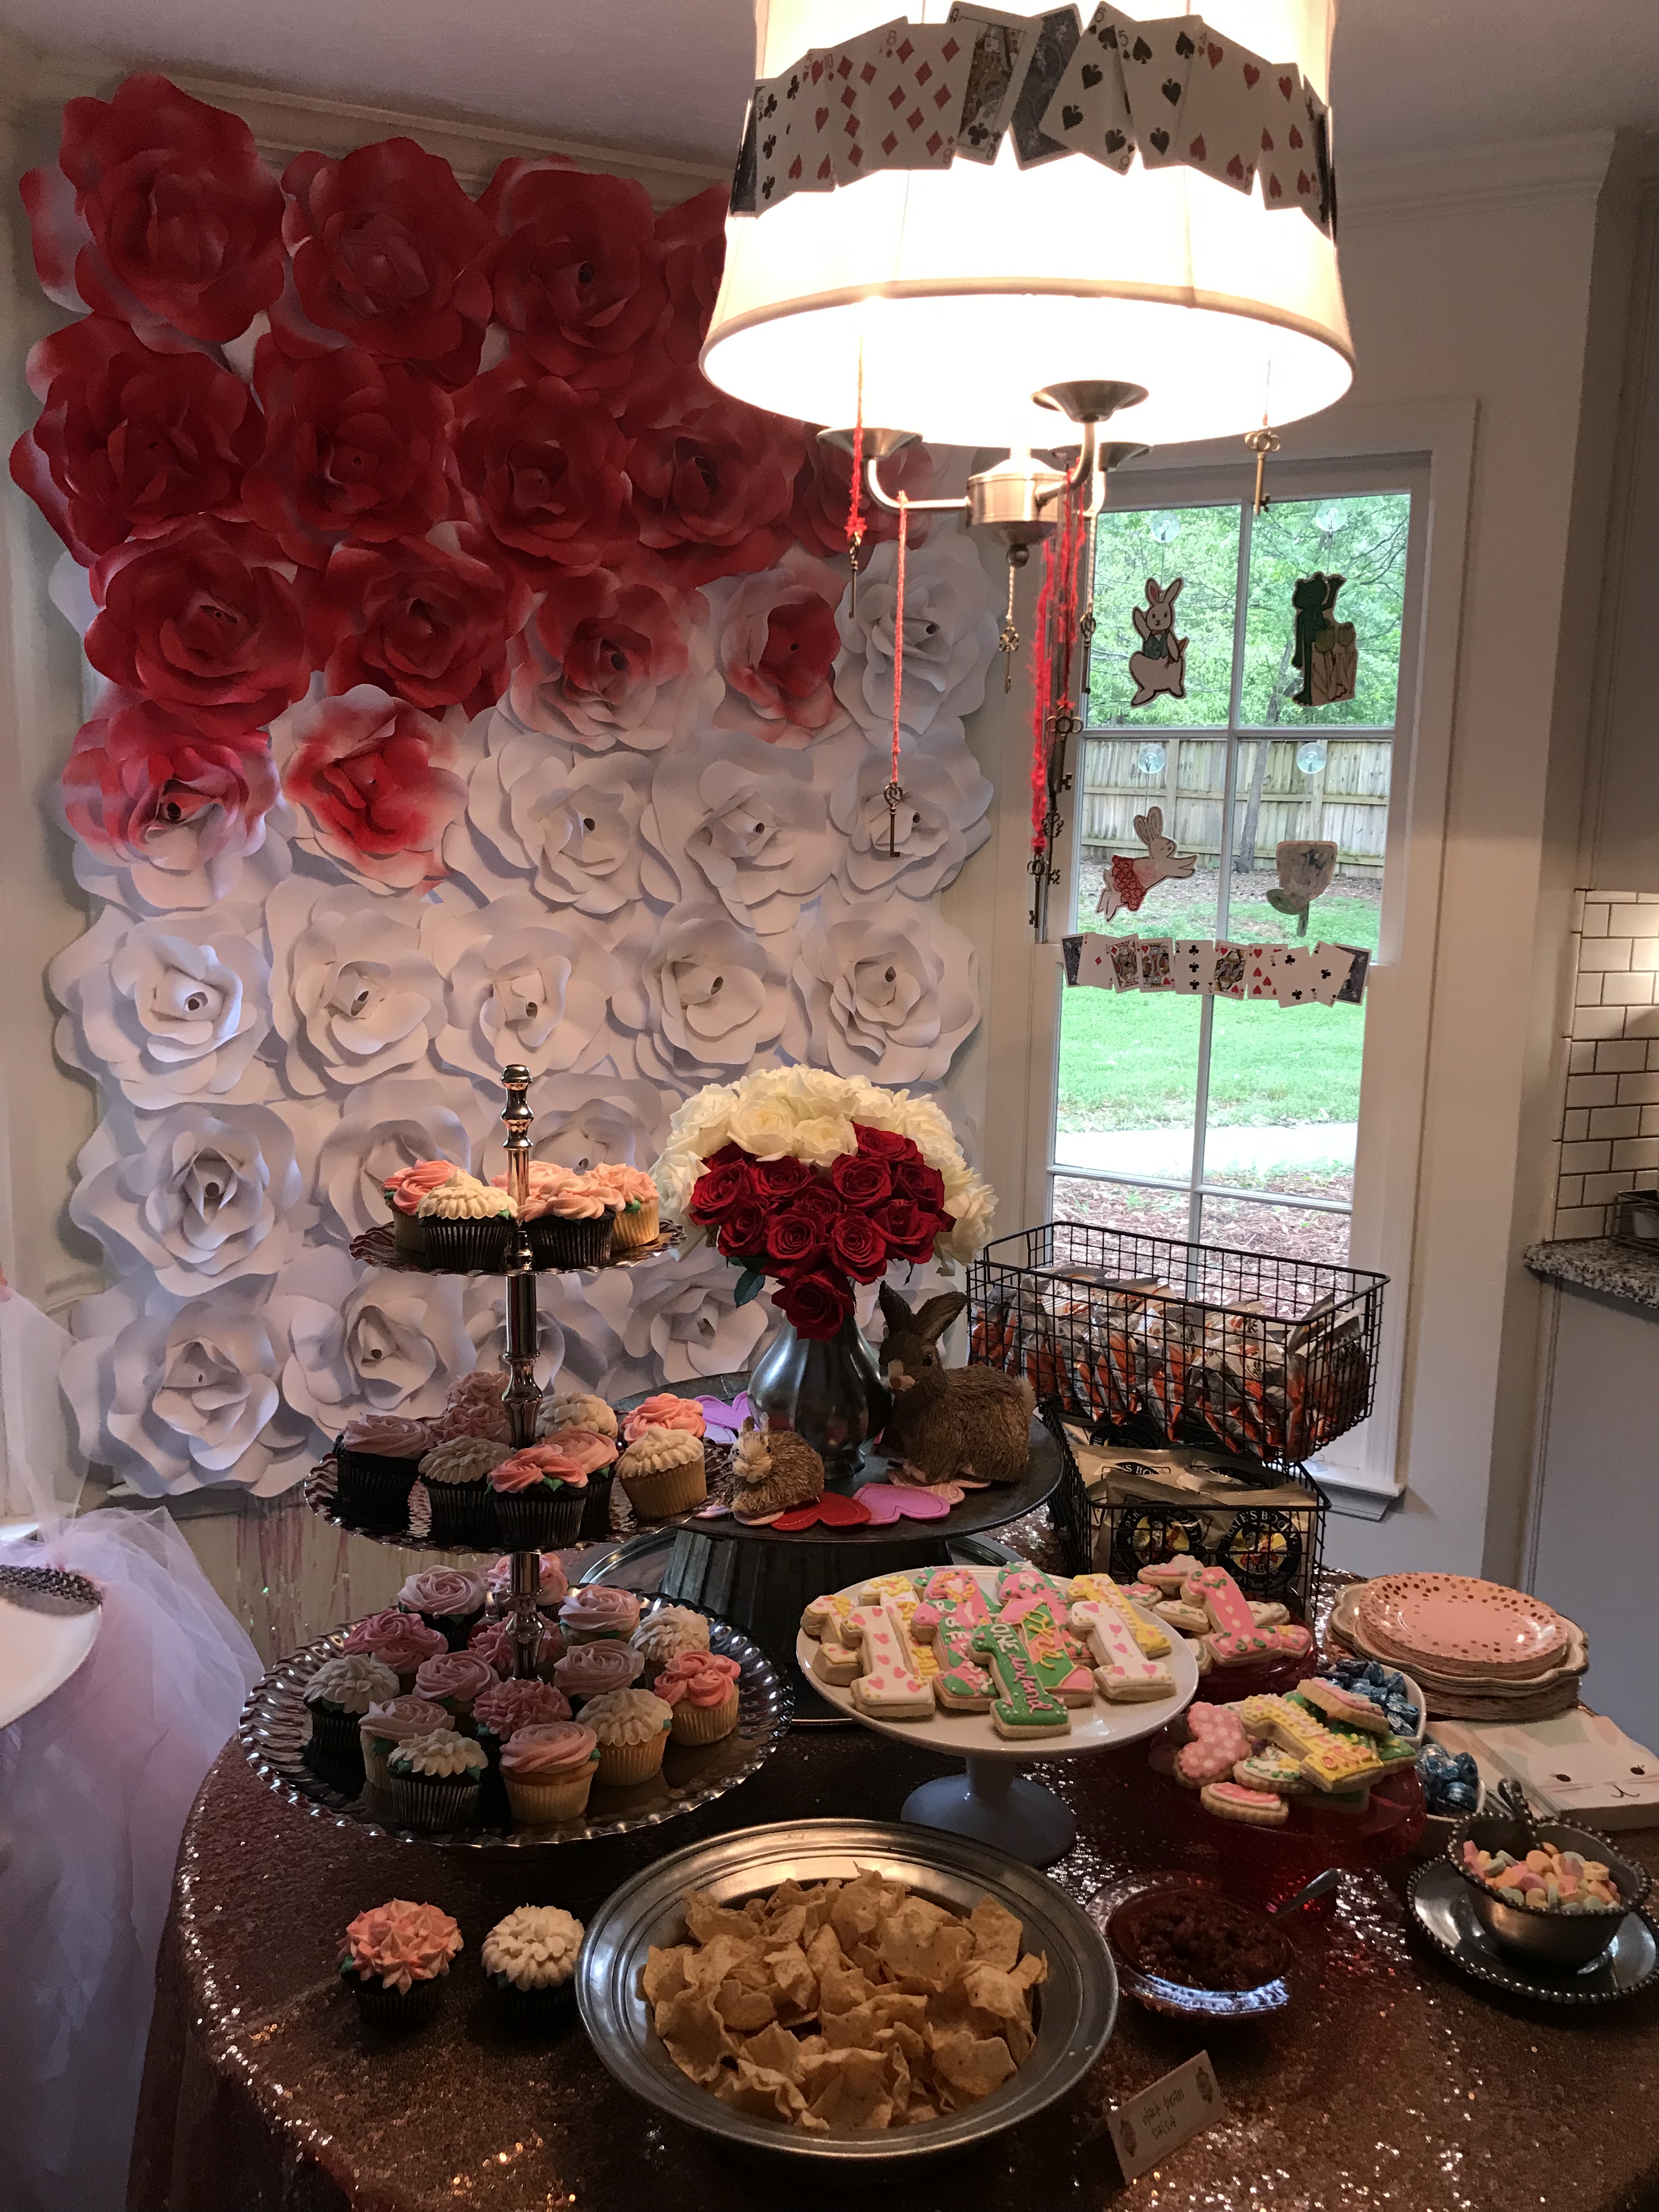
If you’re making multiple flowers in different colors, save the centers to add to different flowers in the arrangement based on where they are placed. After laying the arrangement out on the floor and measuring the dimensions, I nailed a piece of custom cut foam board (thanks, Hobby Lobby) to the wall and hot glued the flowers and leaves up last. I tried quite a few ways to keep these pretties on the wall.. and failed quite a few times.

So far, with the foam board method, none of the flowers have fallen on my sleeping child. Winning.

Hope this is helpful to you and your project! If you were hoping for a tutorial on my “painting the roses red” rose wall from Ramsey’s birthday. Hold on to your peaches. It’s coming.
Cheers!
